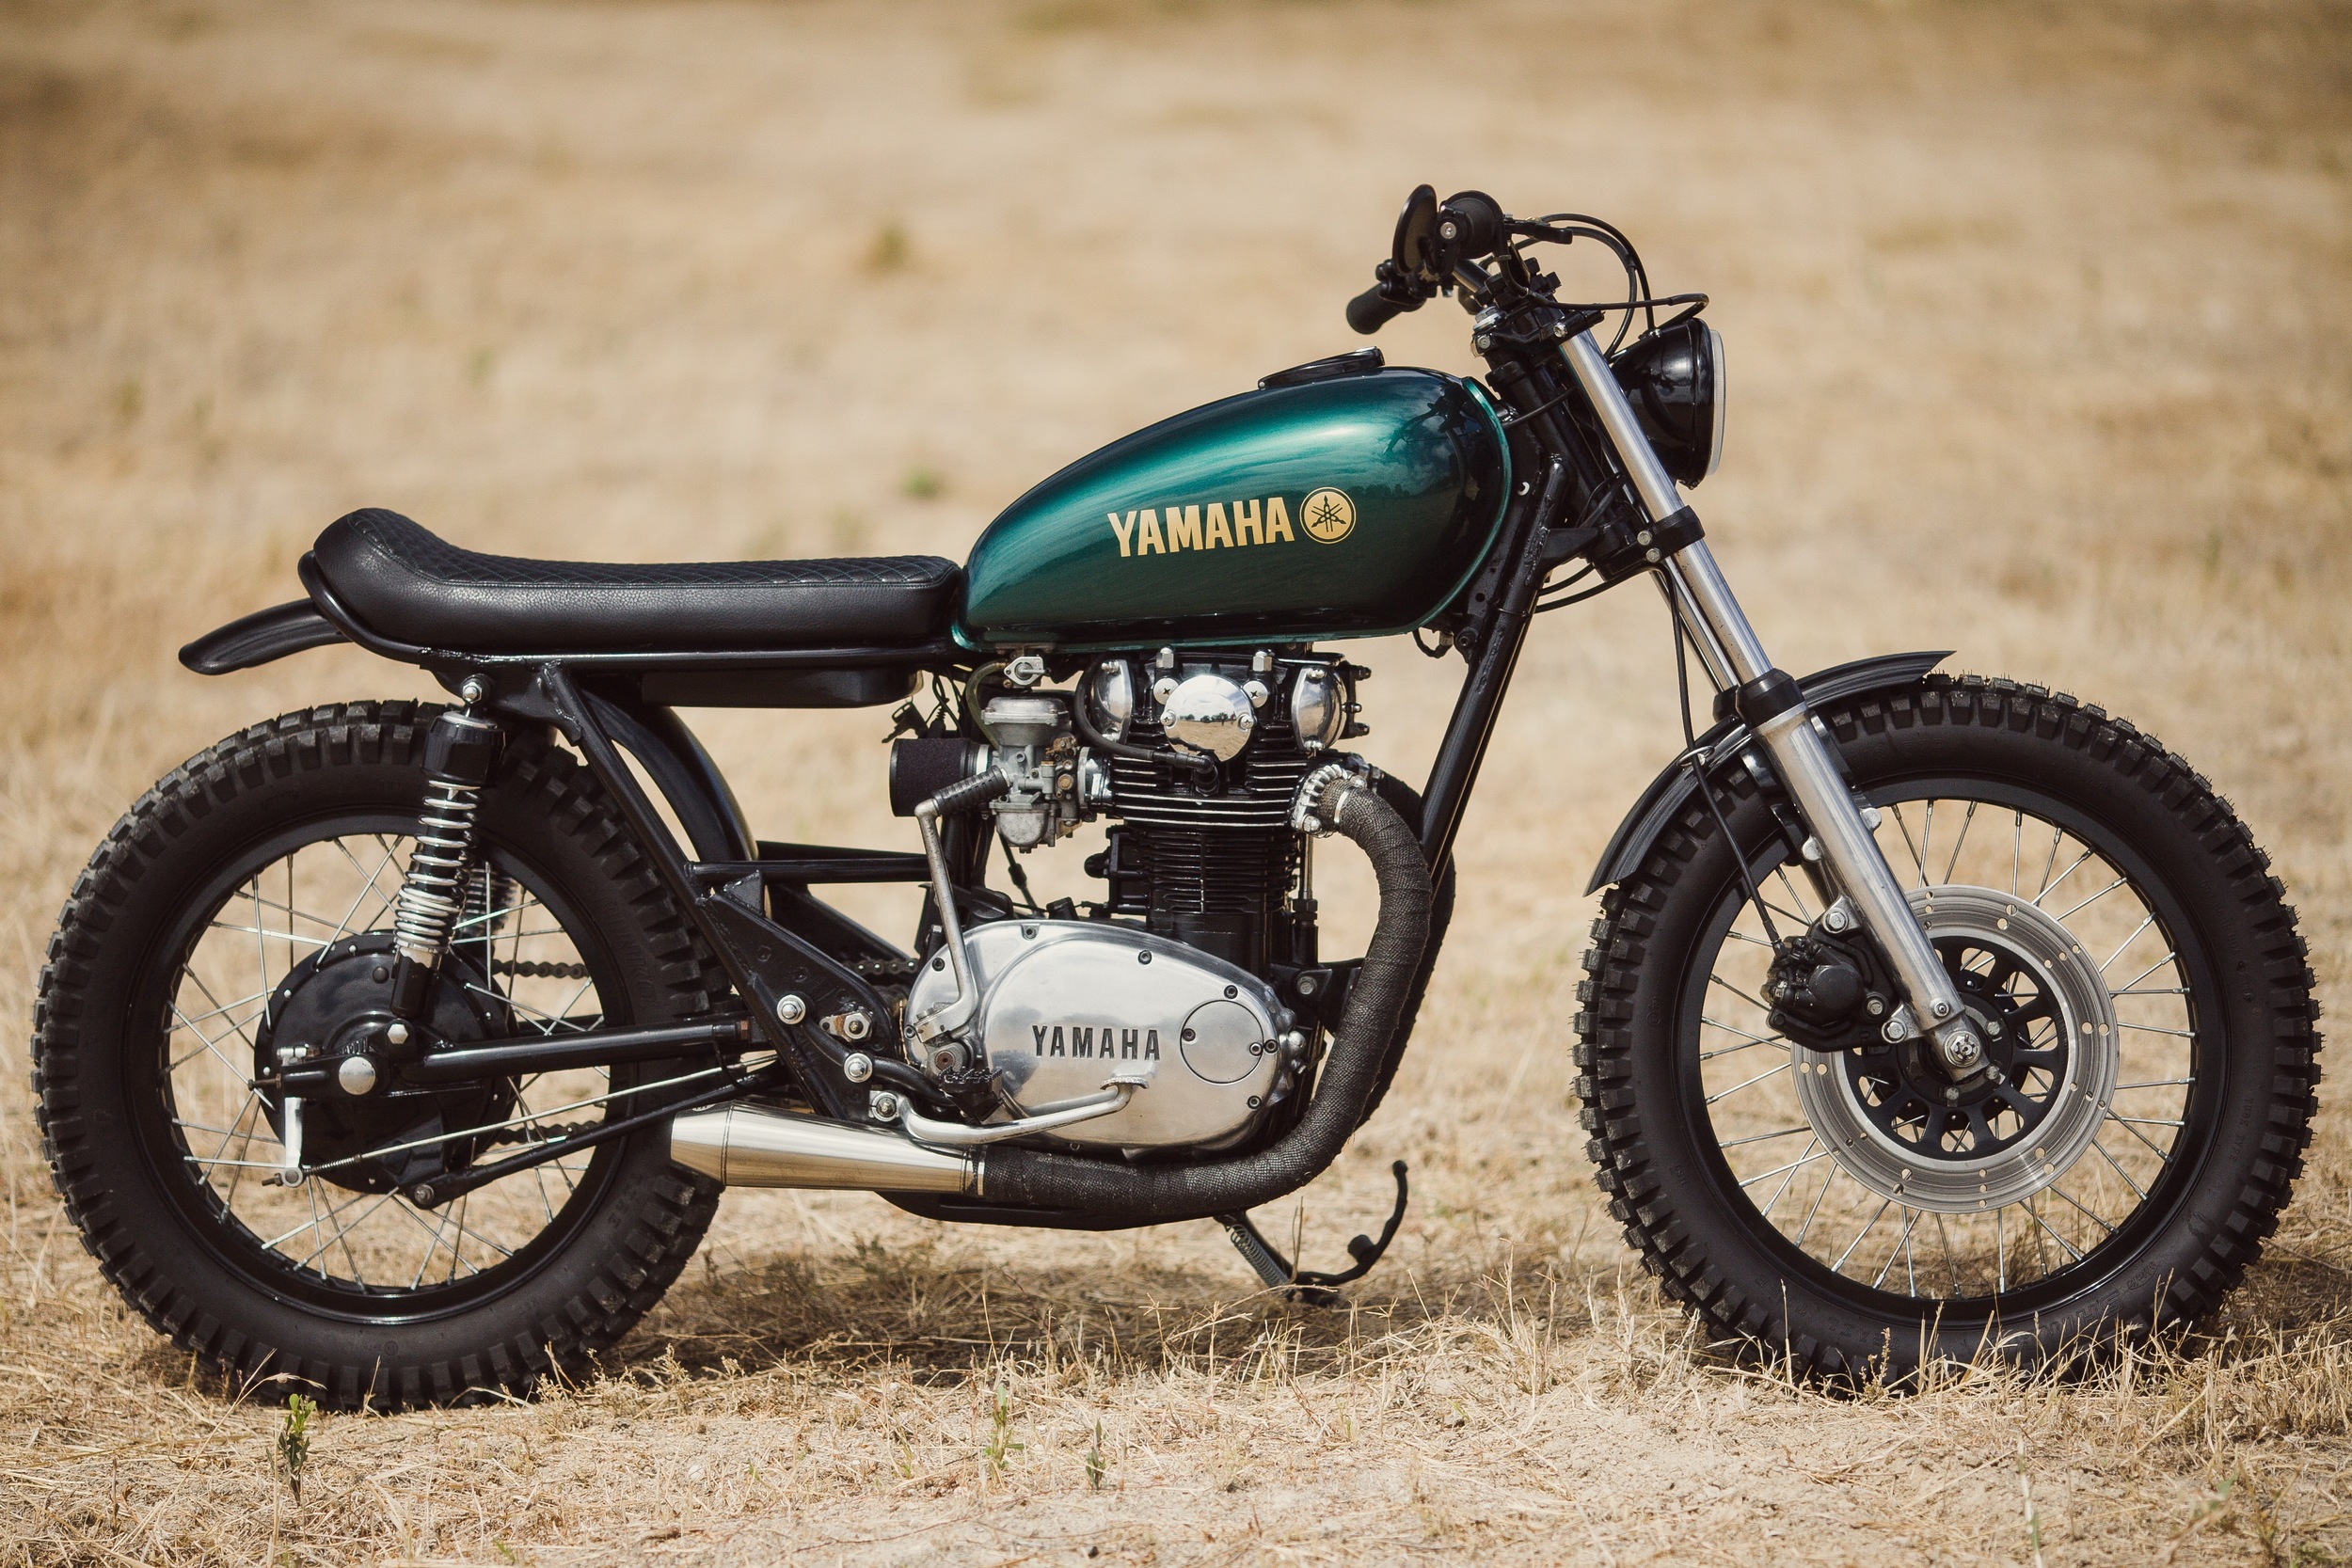
1977 Yamaha xs650 "kelly"
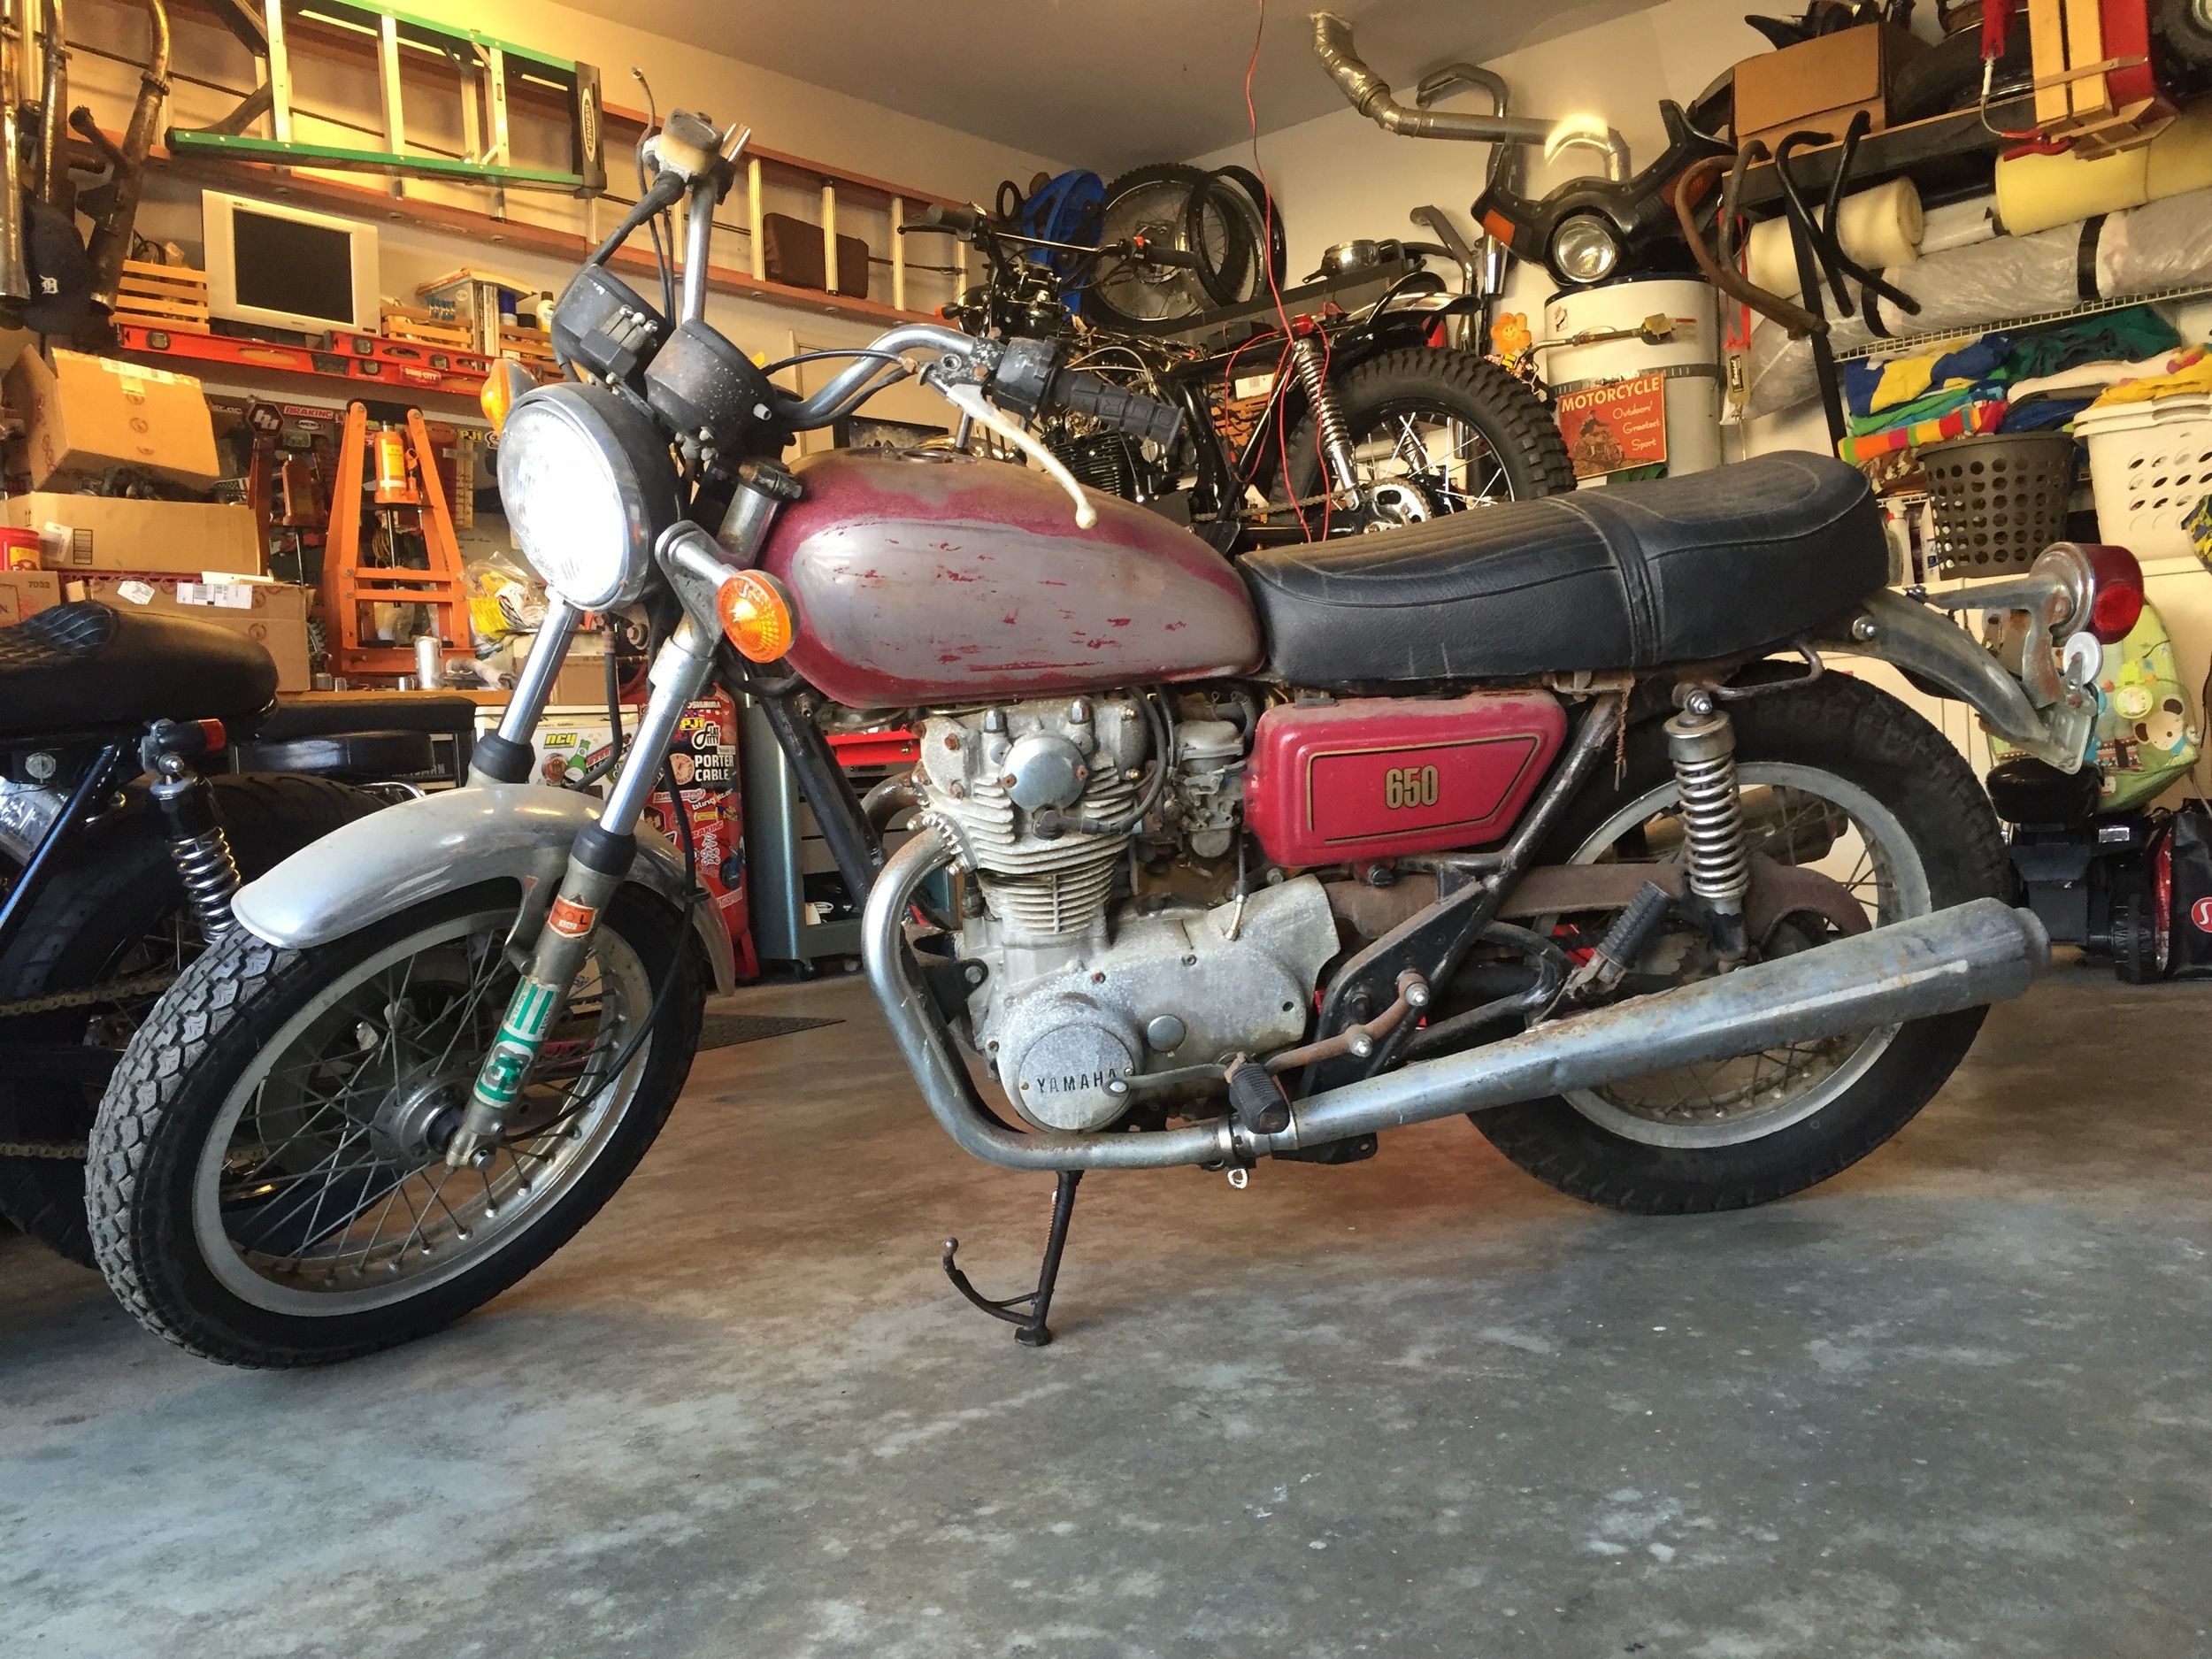
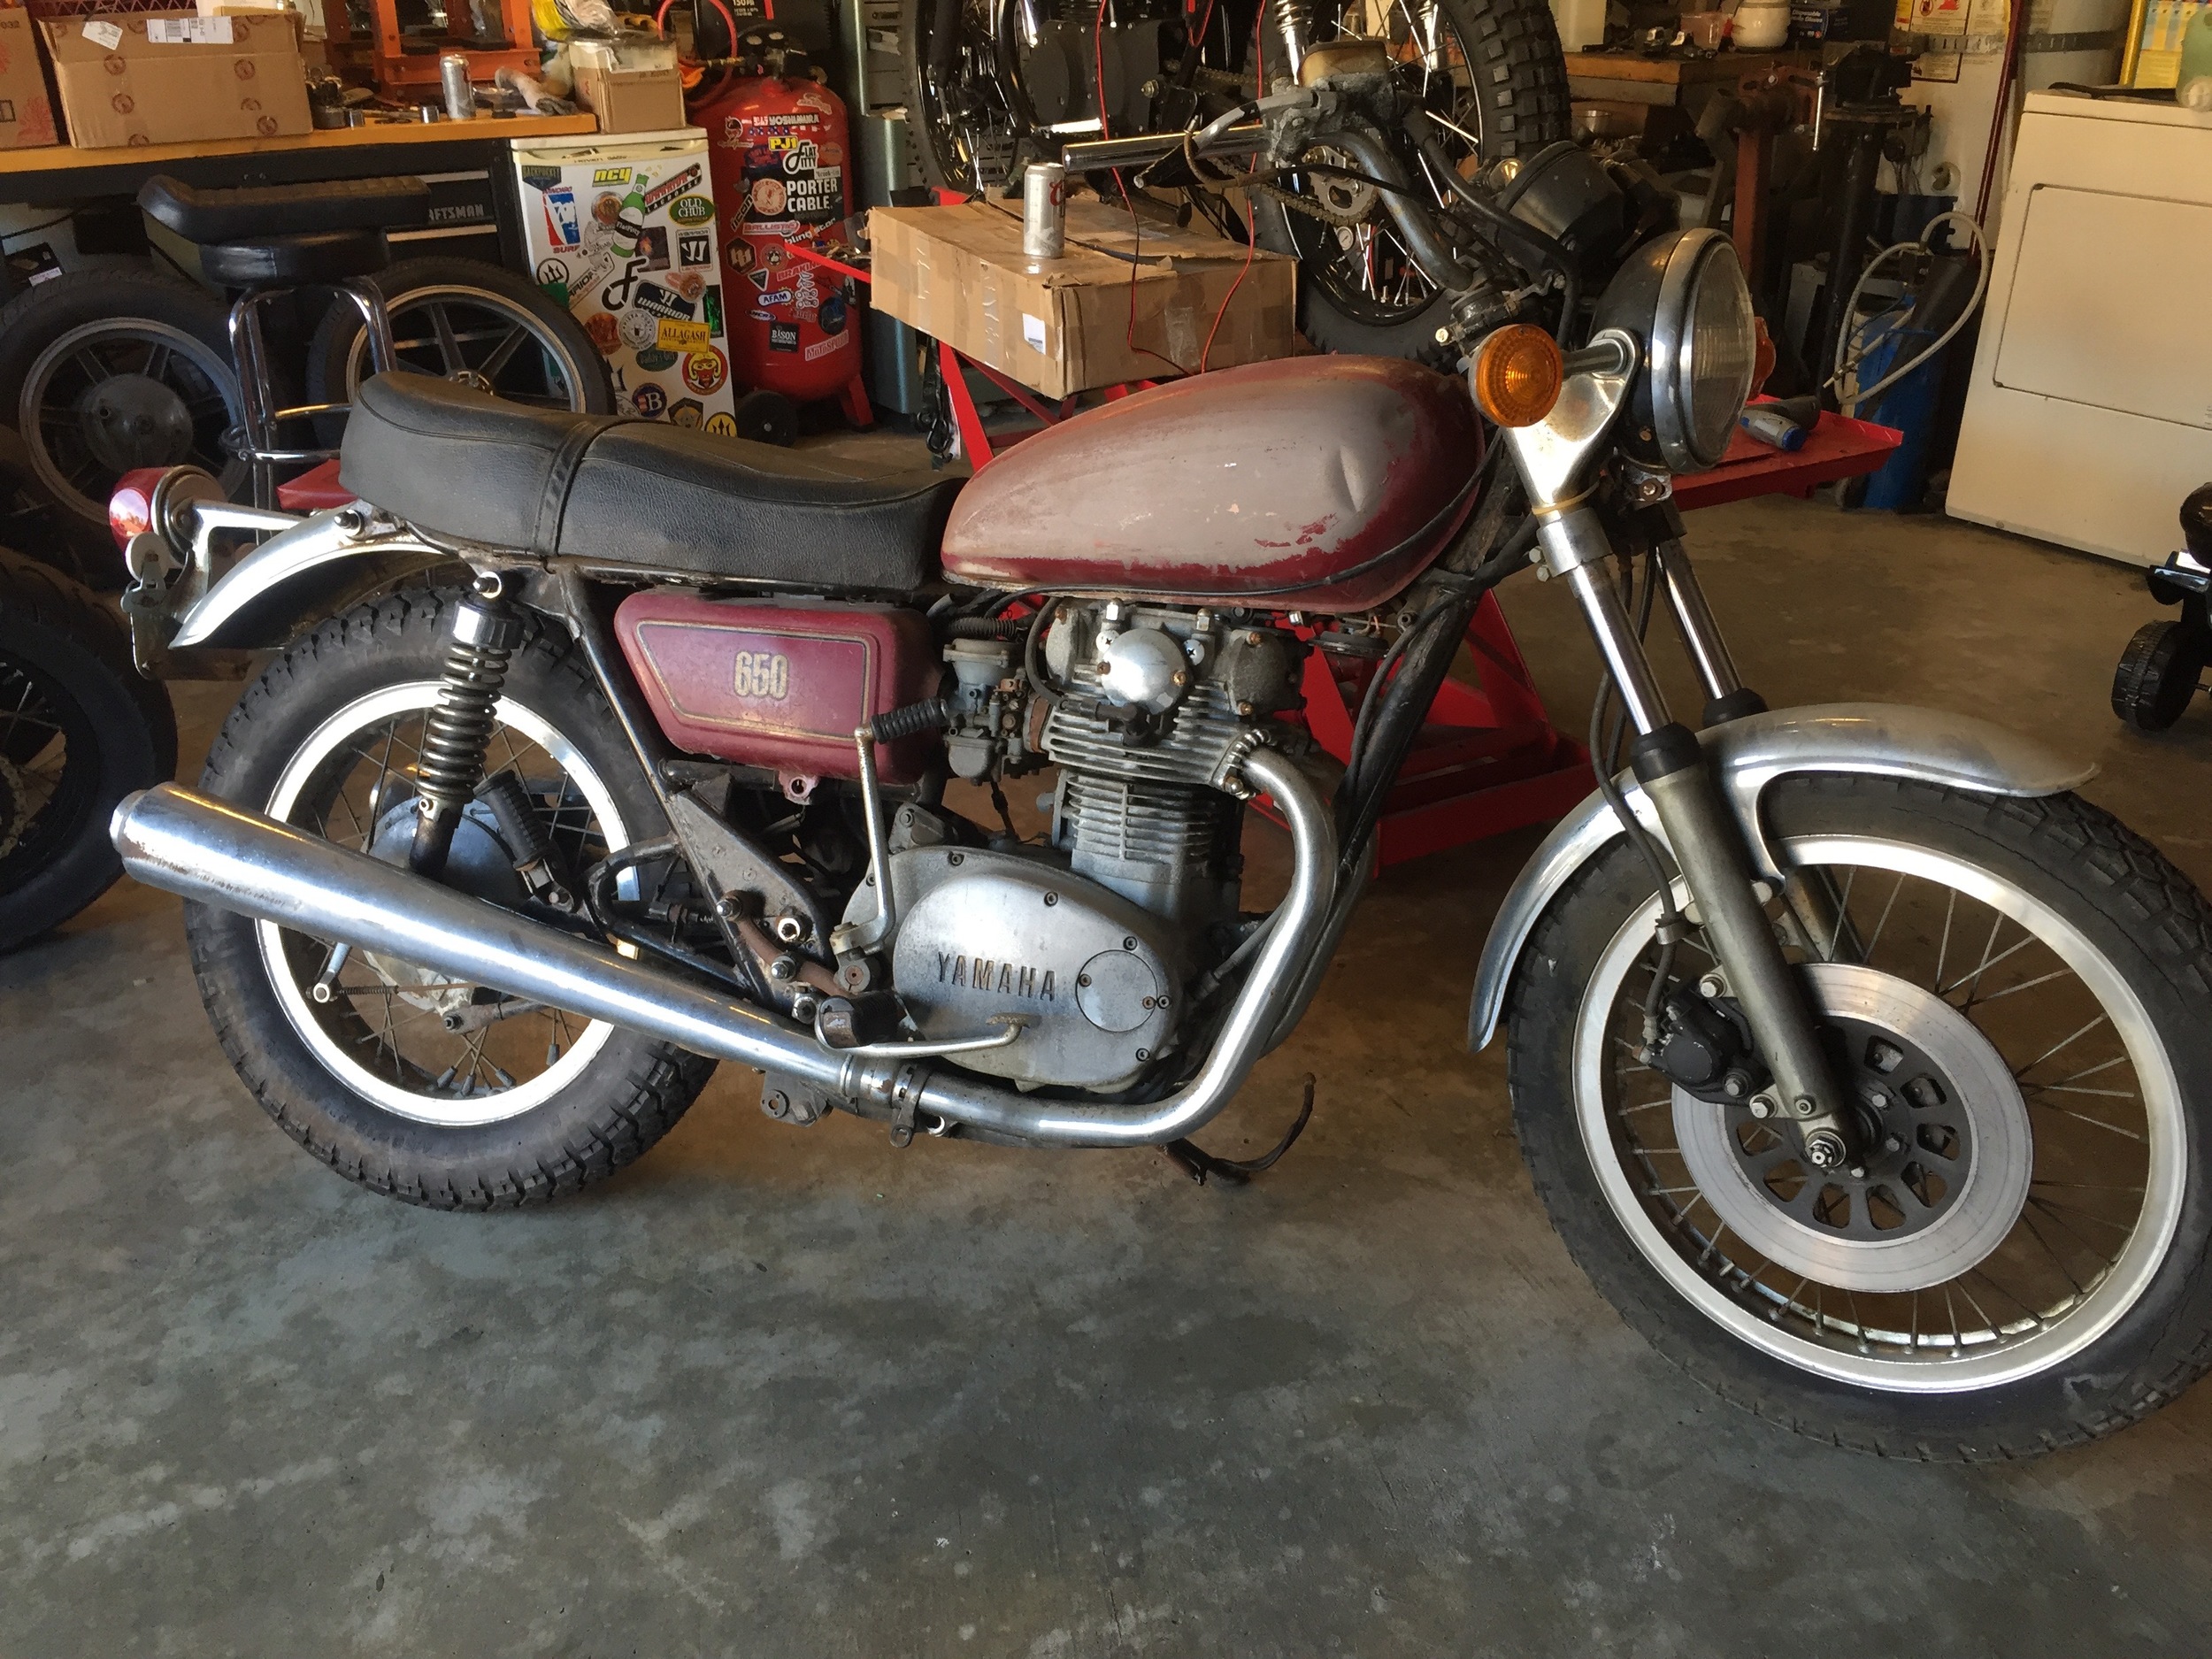

The "Before" shot. Pretty bone stock but ugly. The previous owner had plans to make a legit flat tracker out of it. With the bike came a box of brand new goodies including carb and petcock rebuild kits, a new key switch, and even a Radian swingarm.
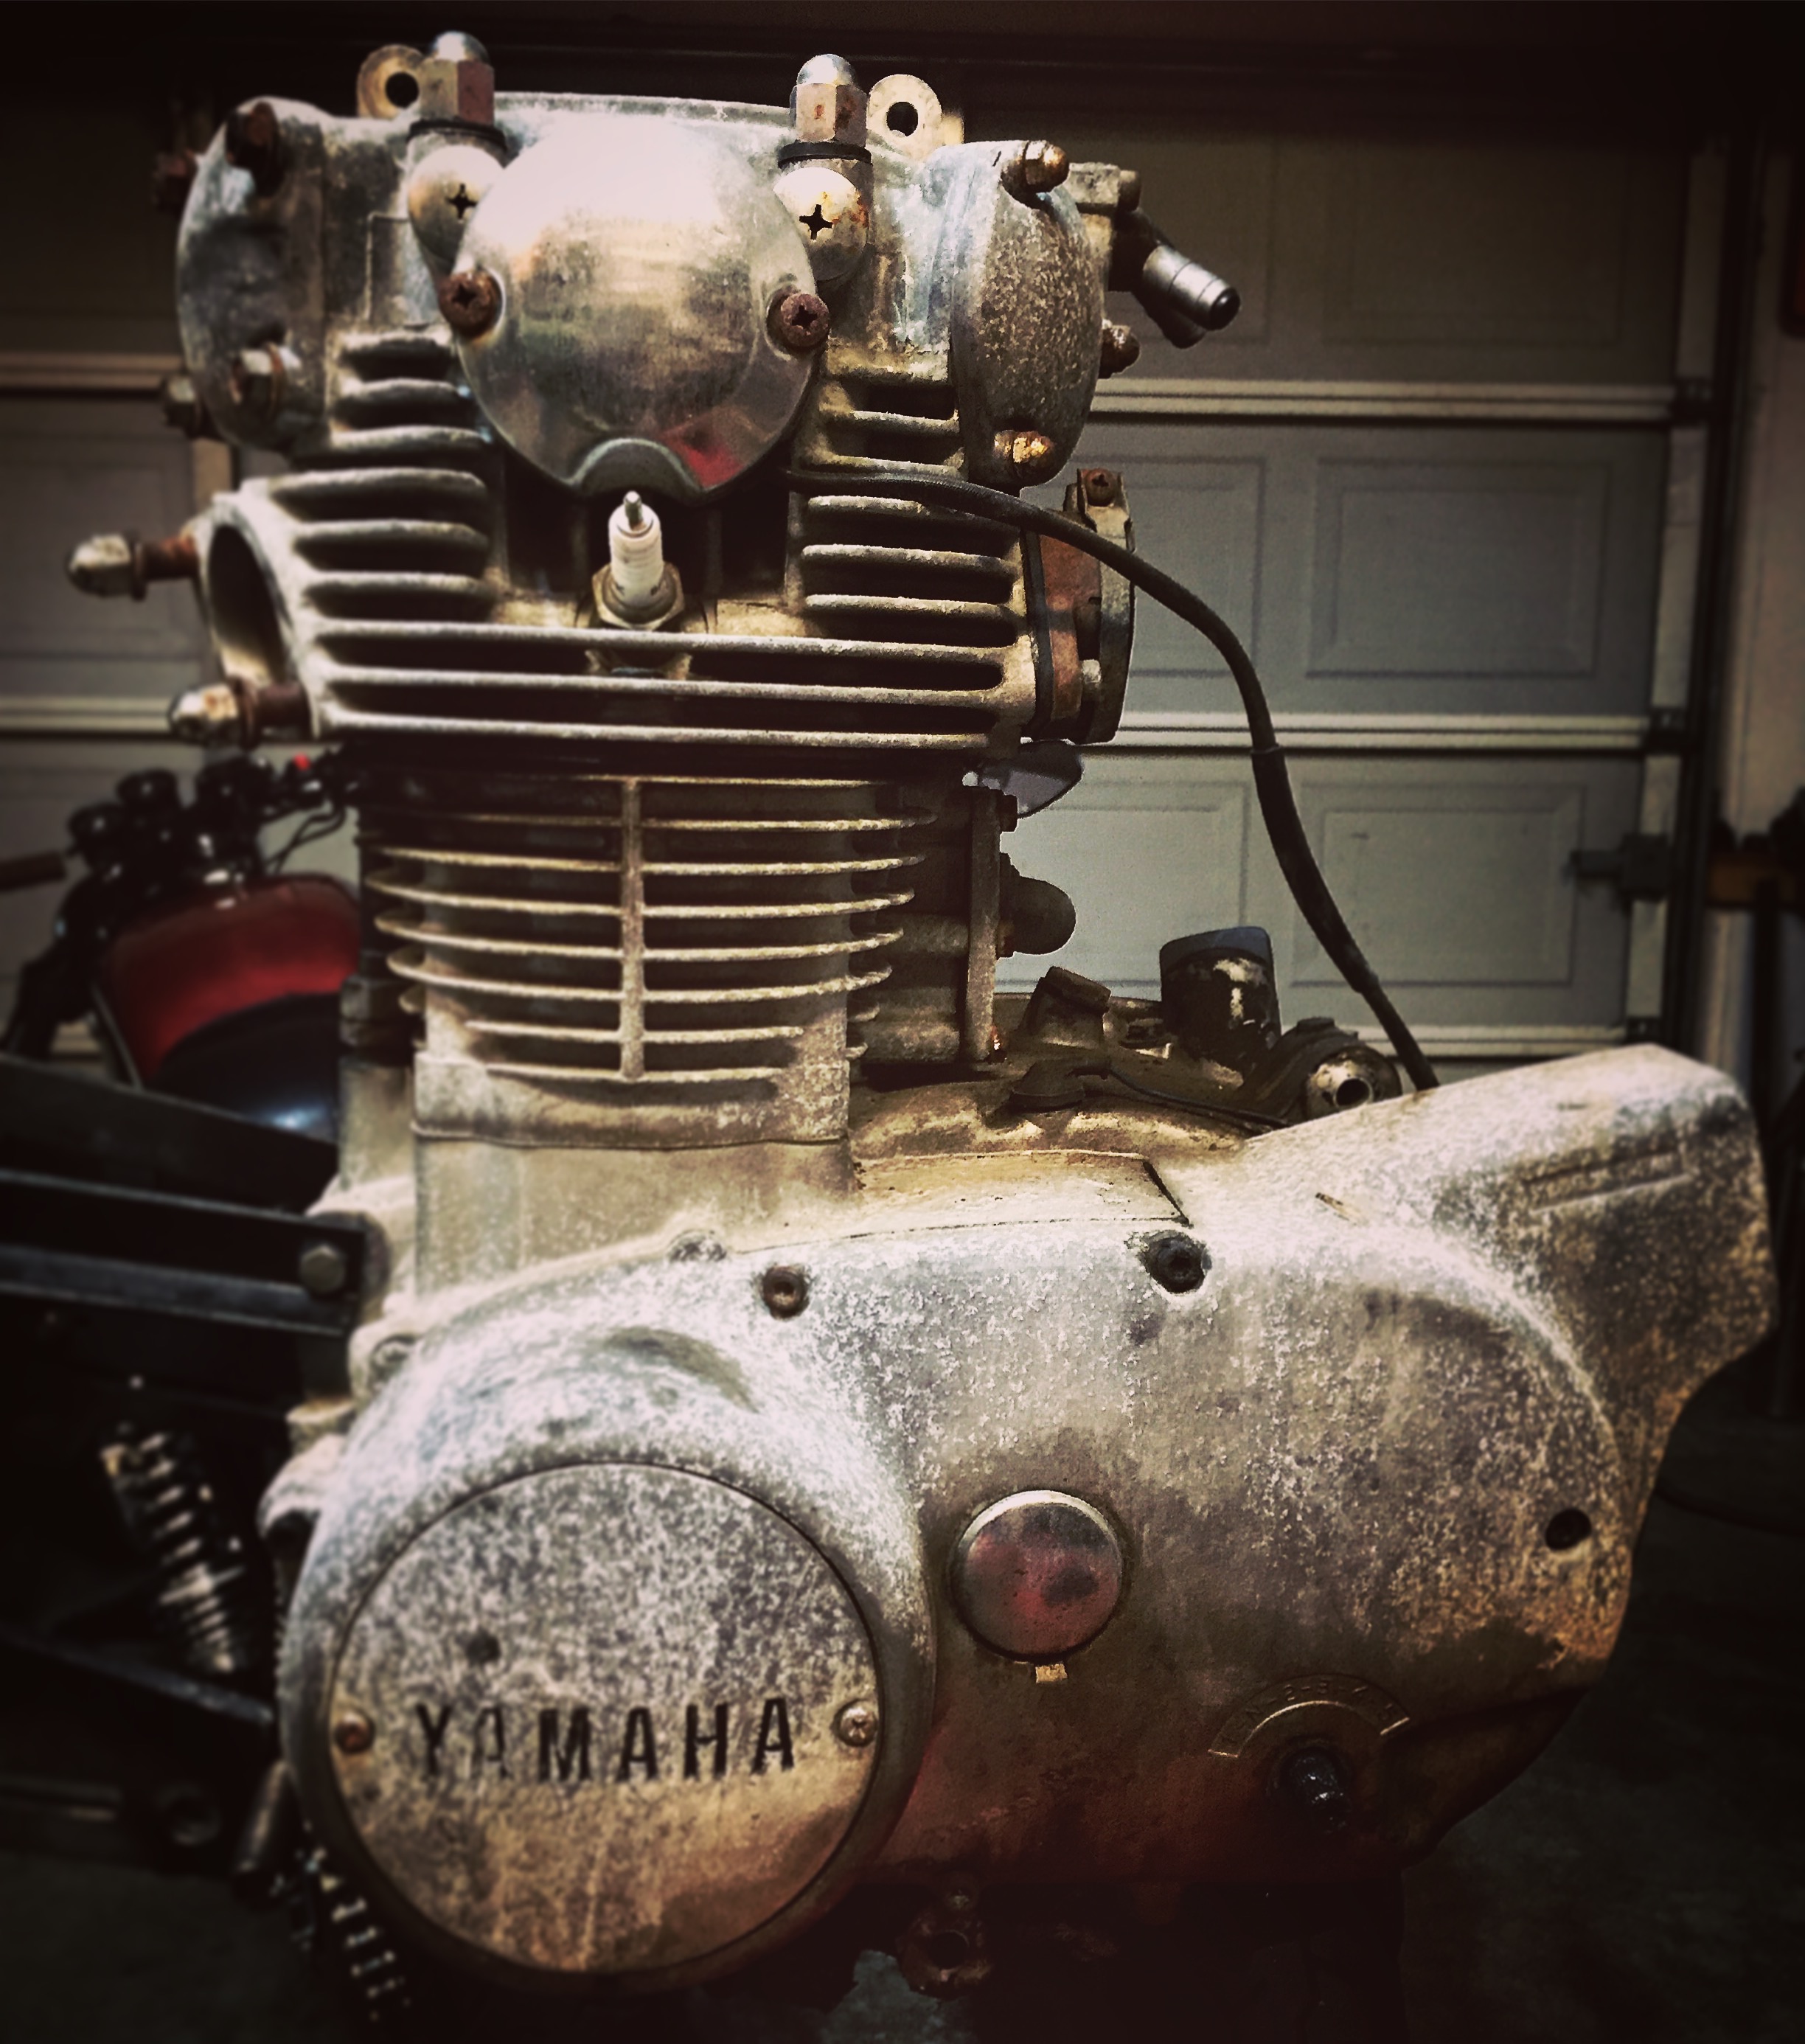
This was an instagram shot of the engine before we cleaned it up. One instagram follower referred to the patina as "frosting".
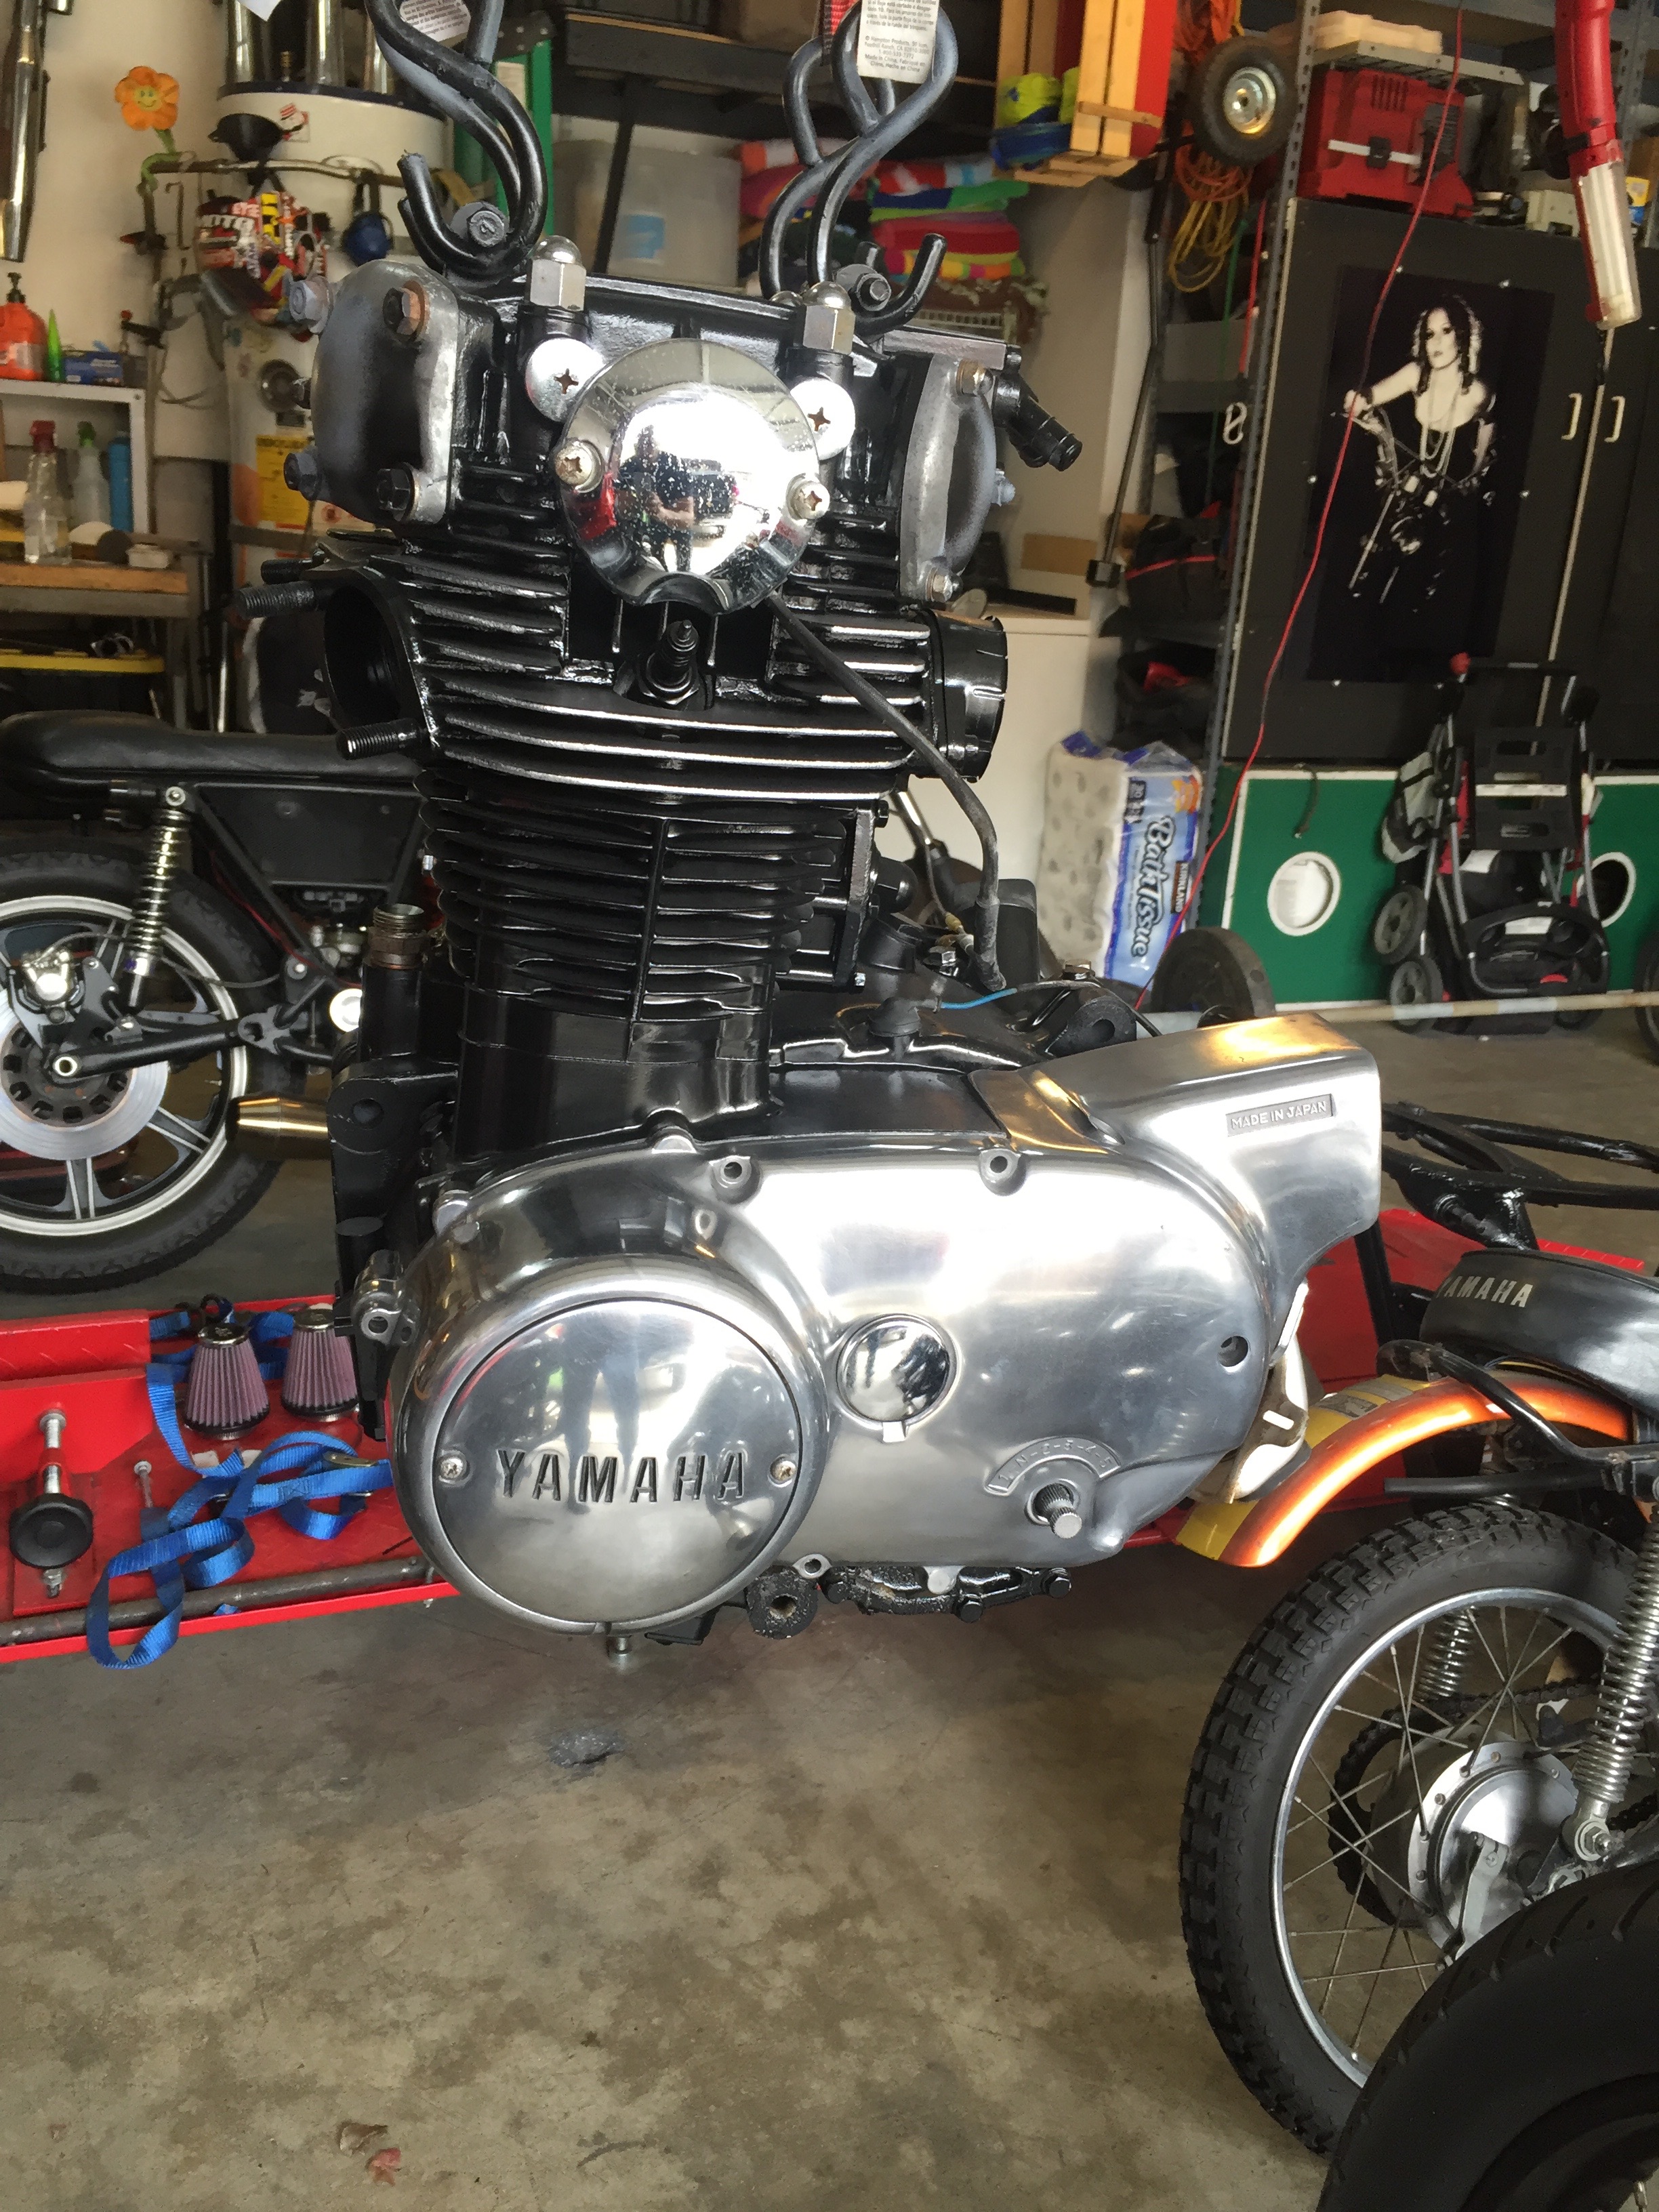
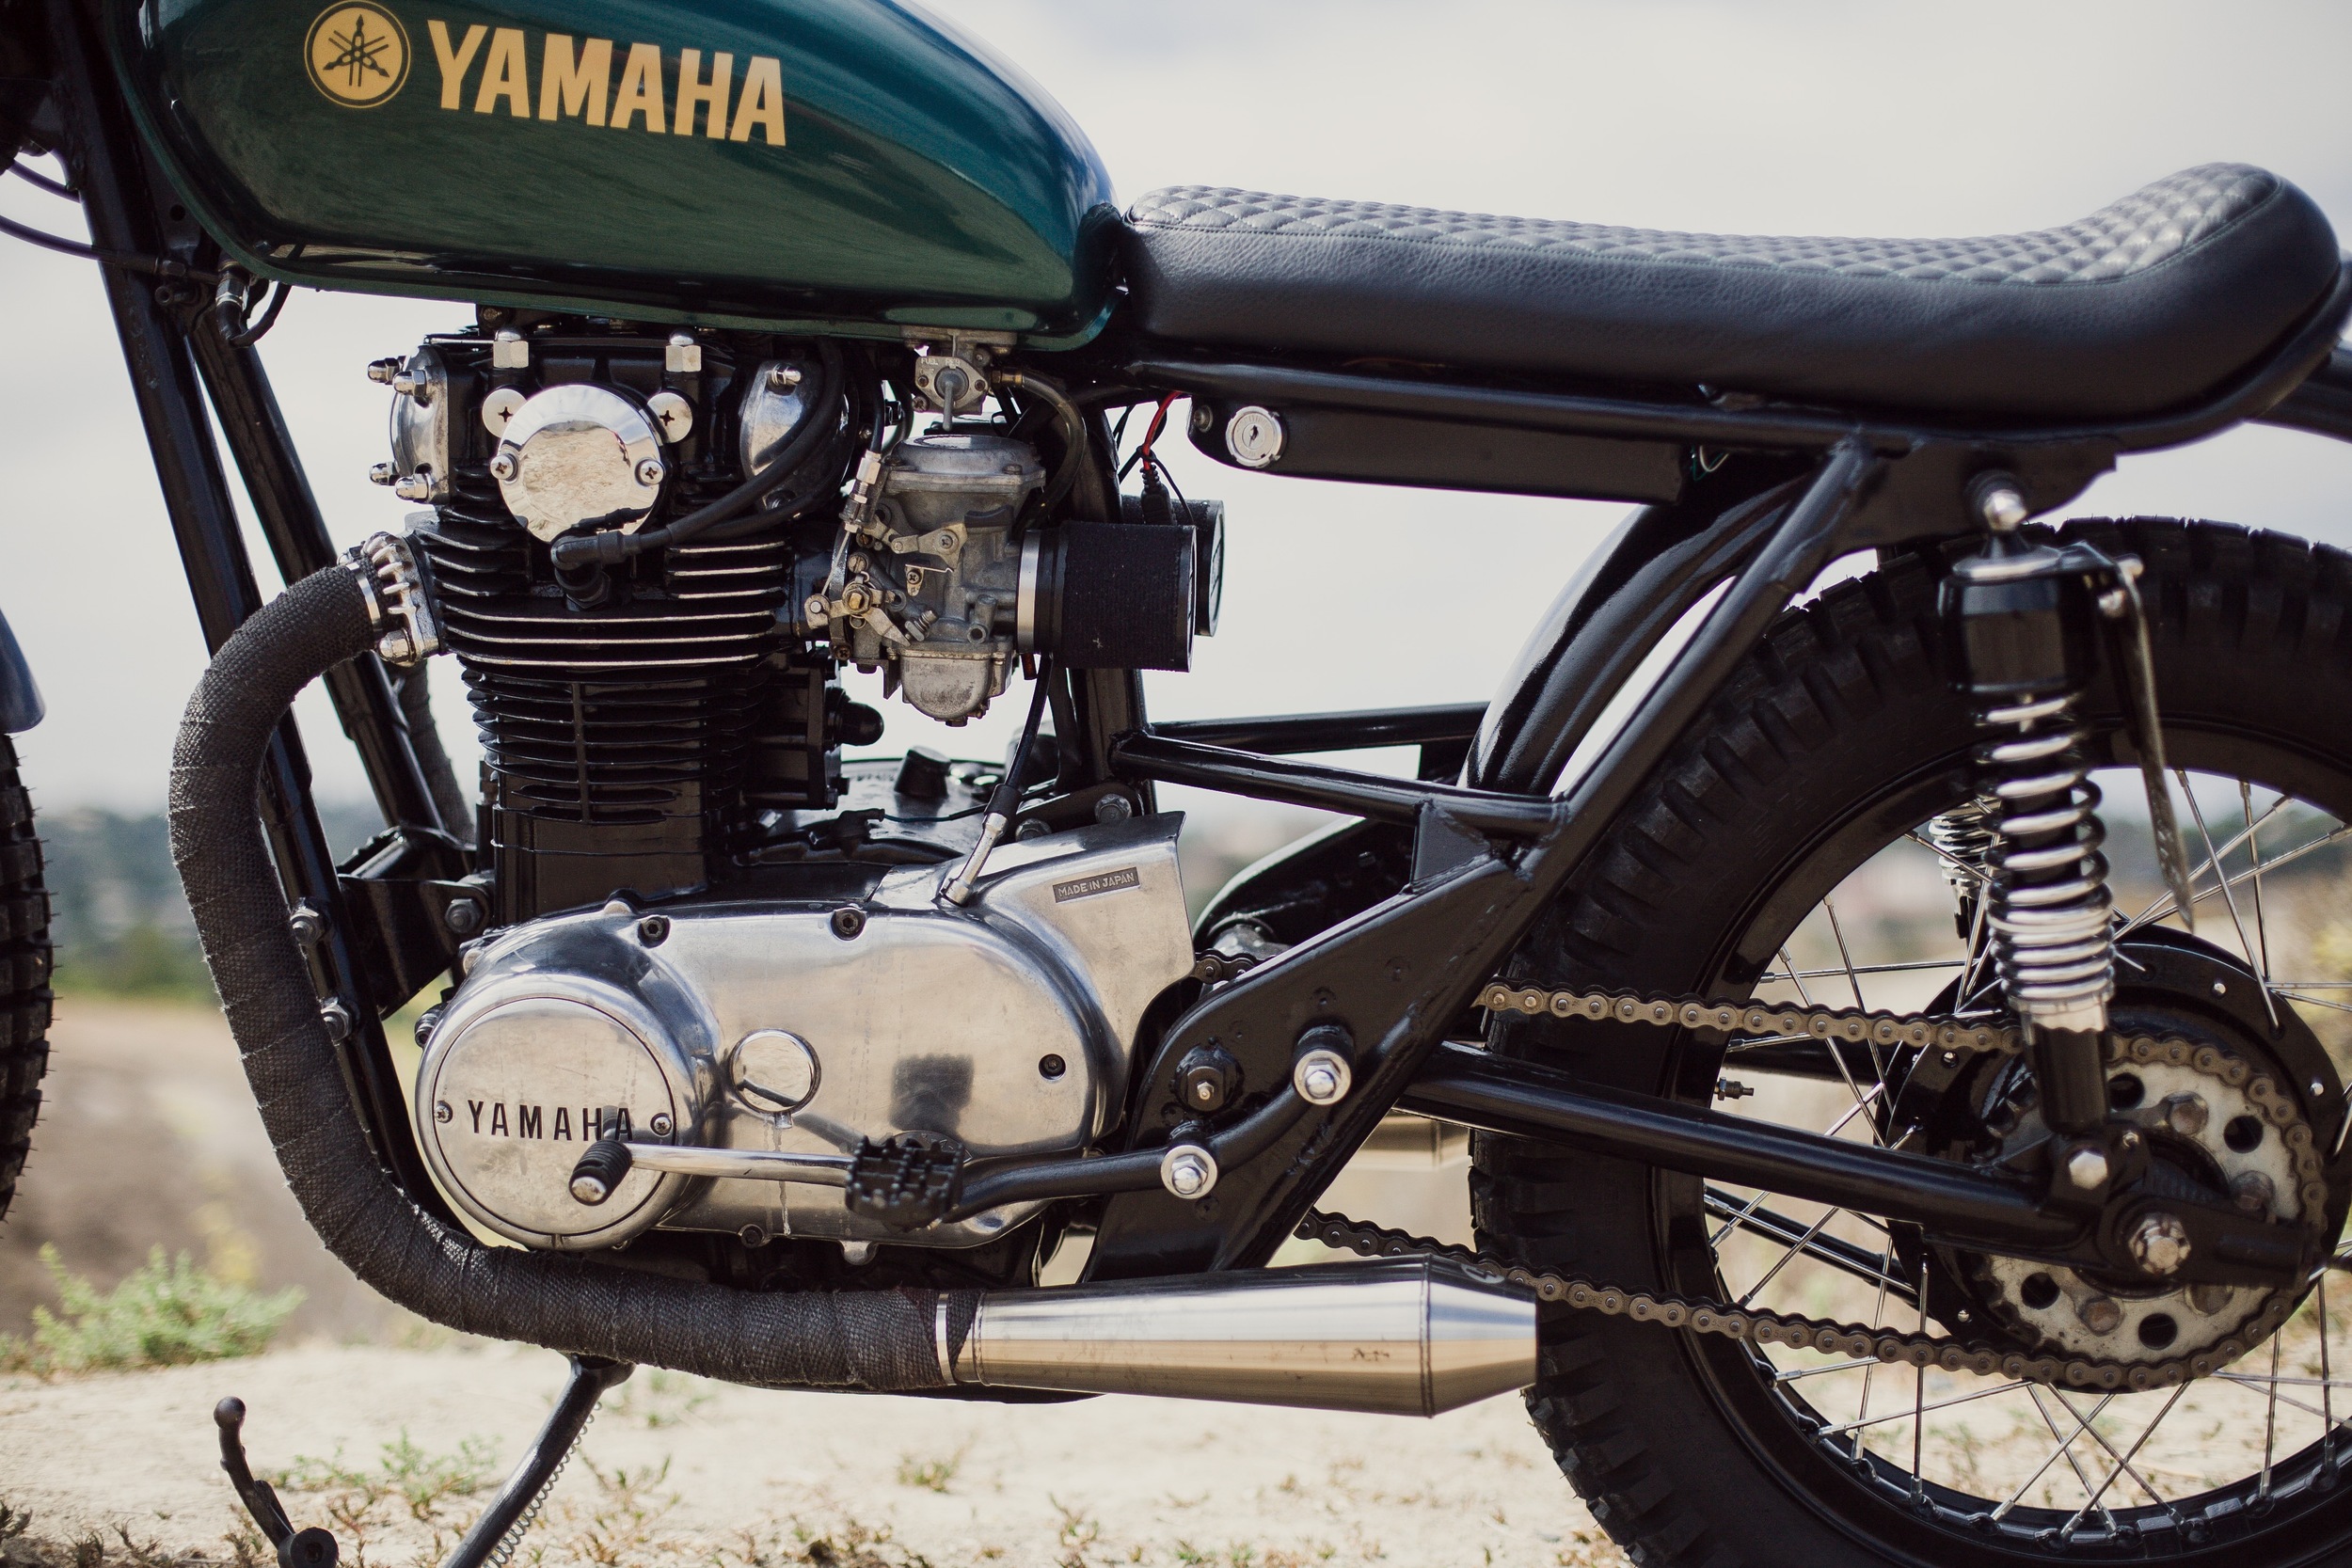
The engine after the makeover. Blacked out with buzzed fins and polished side covers. The Yamaha 650 engine is so pretty!
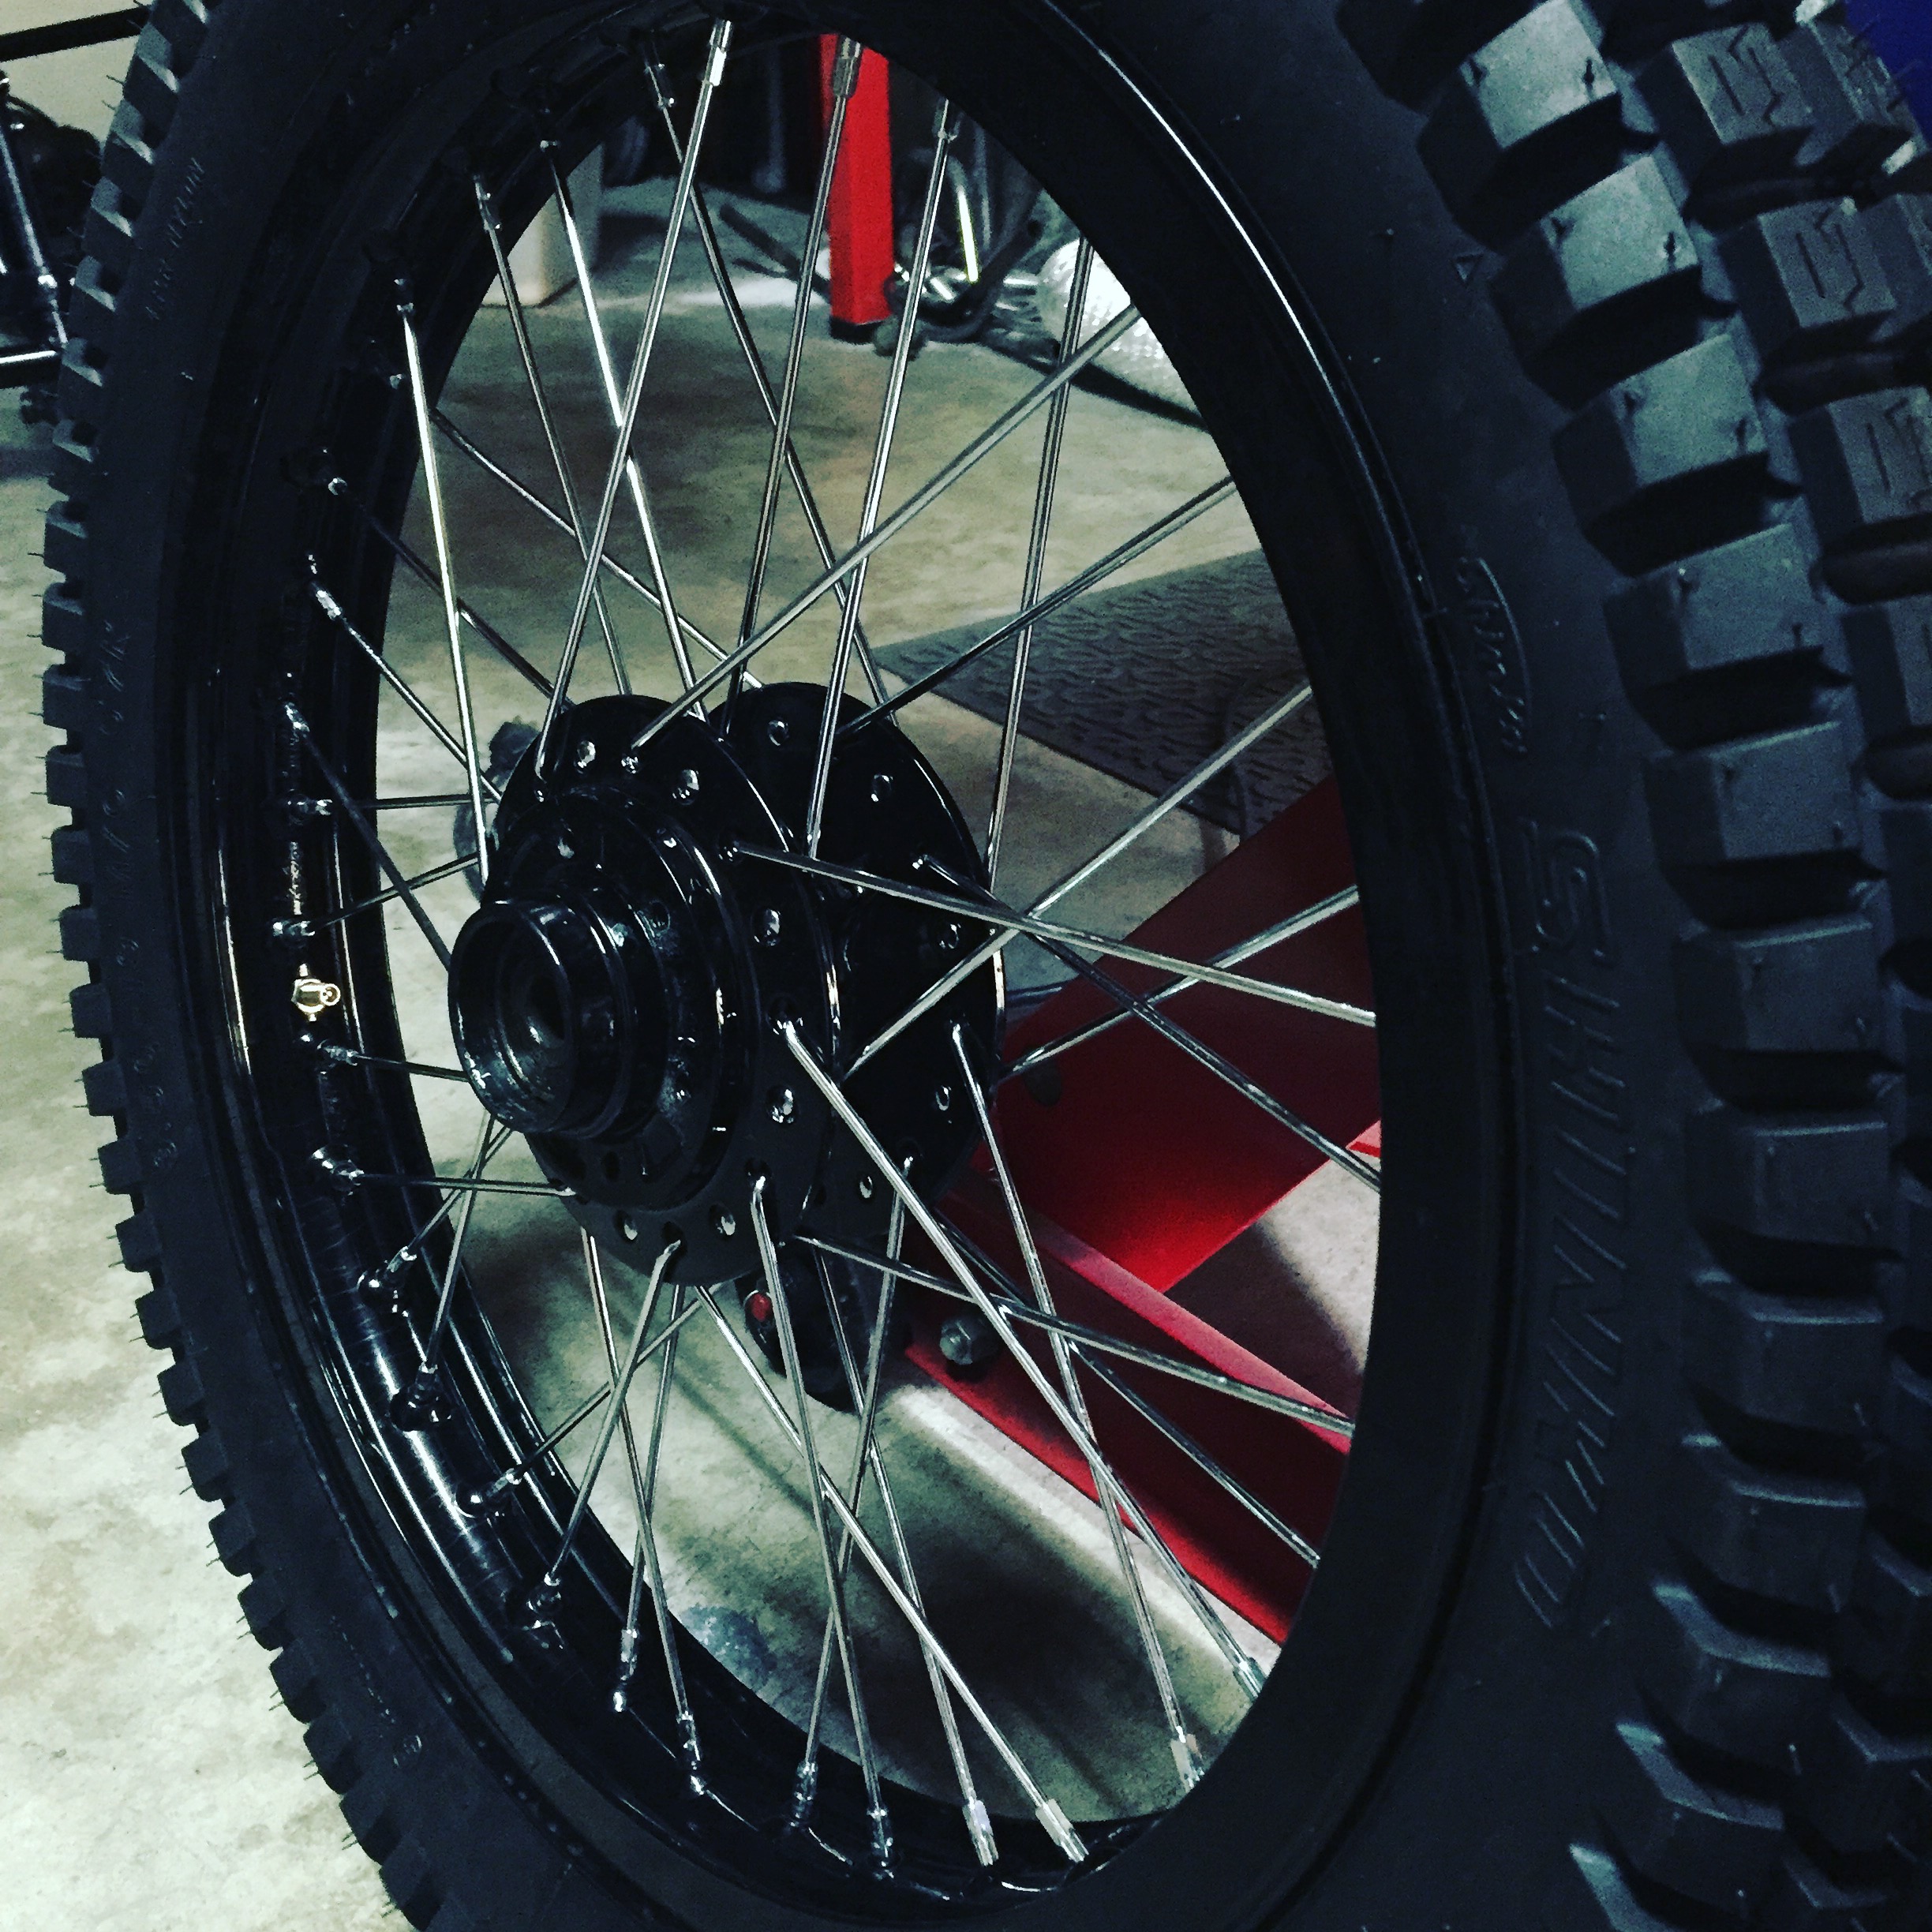
Our "go to" combination. Gloss black powder coated wheels and hubs with chrome spokes. We've done it before, and we'll surely do it again. This XS650 is going to look killer with trials tires!
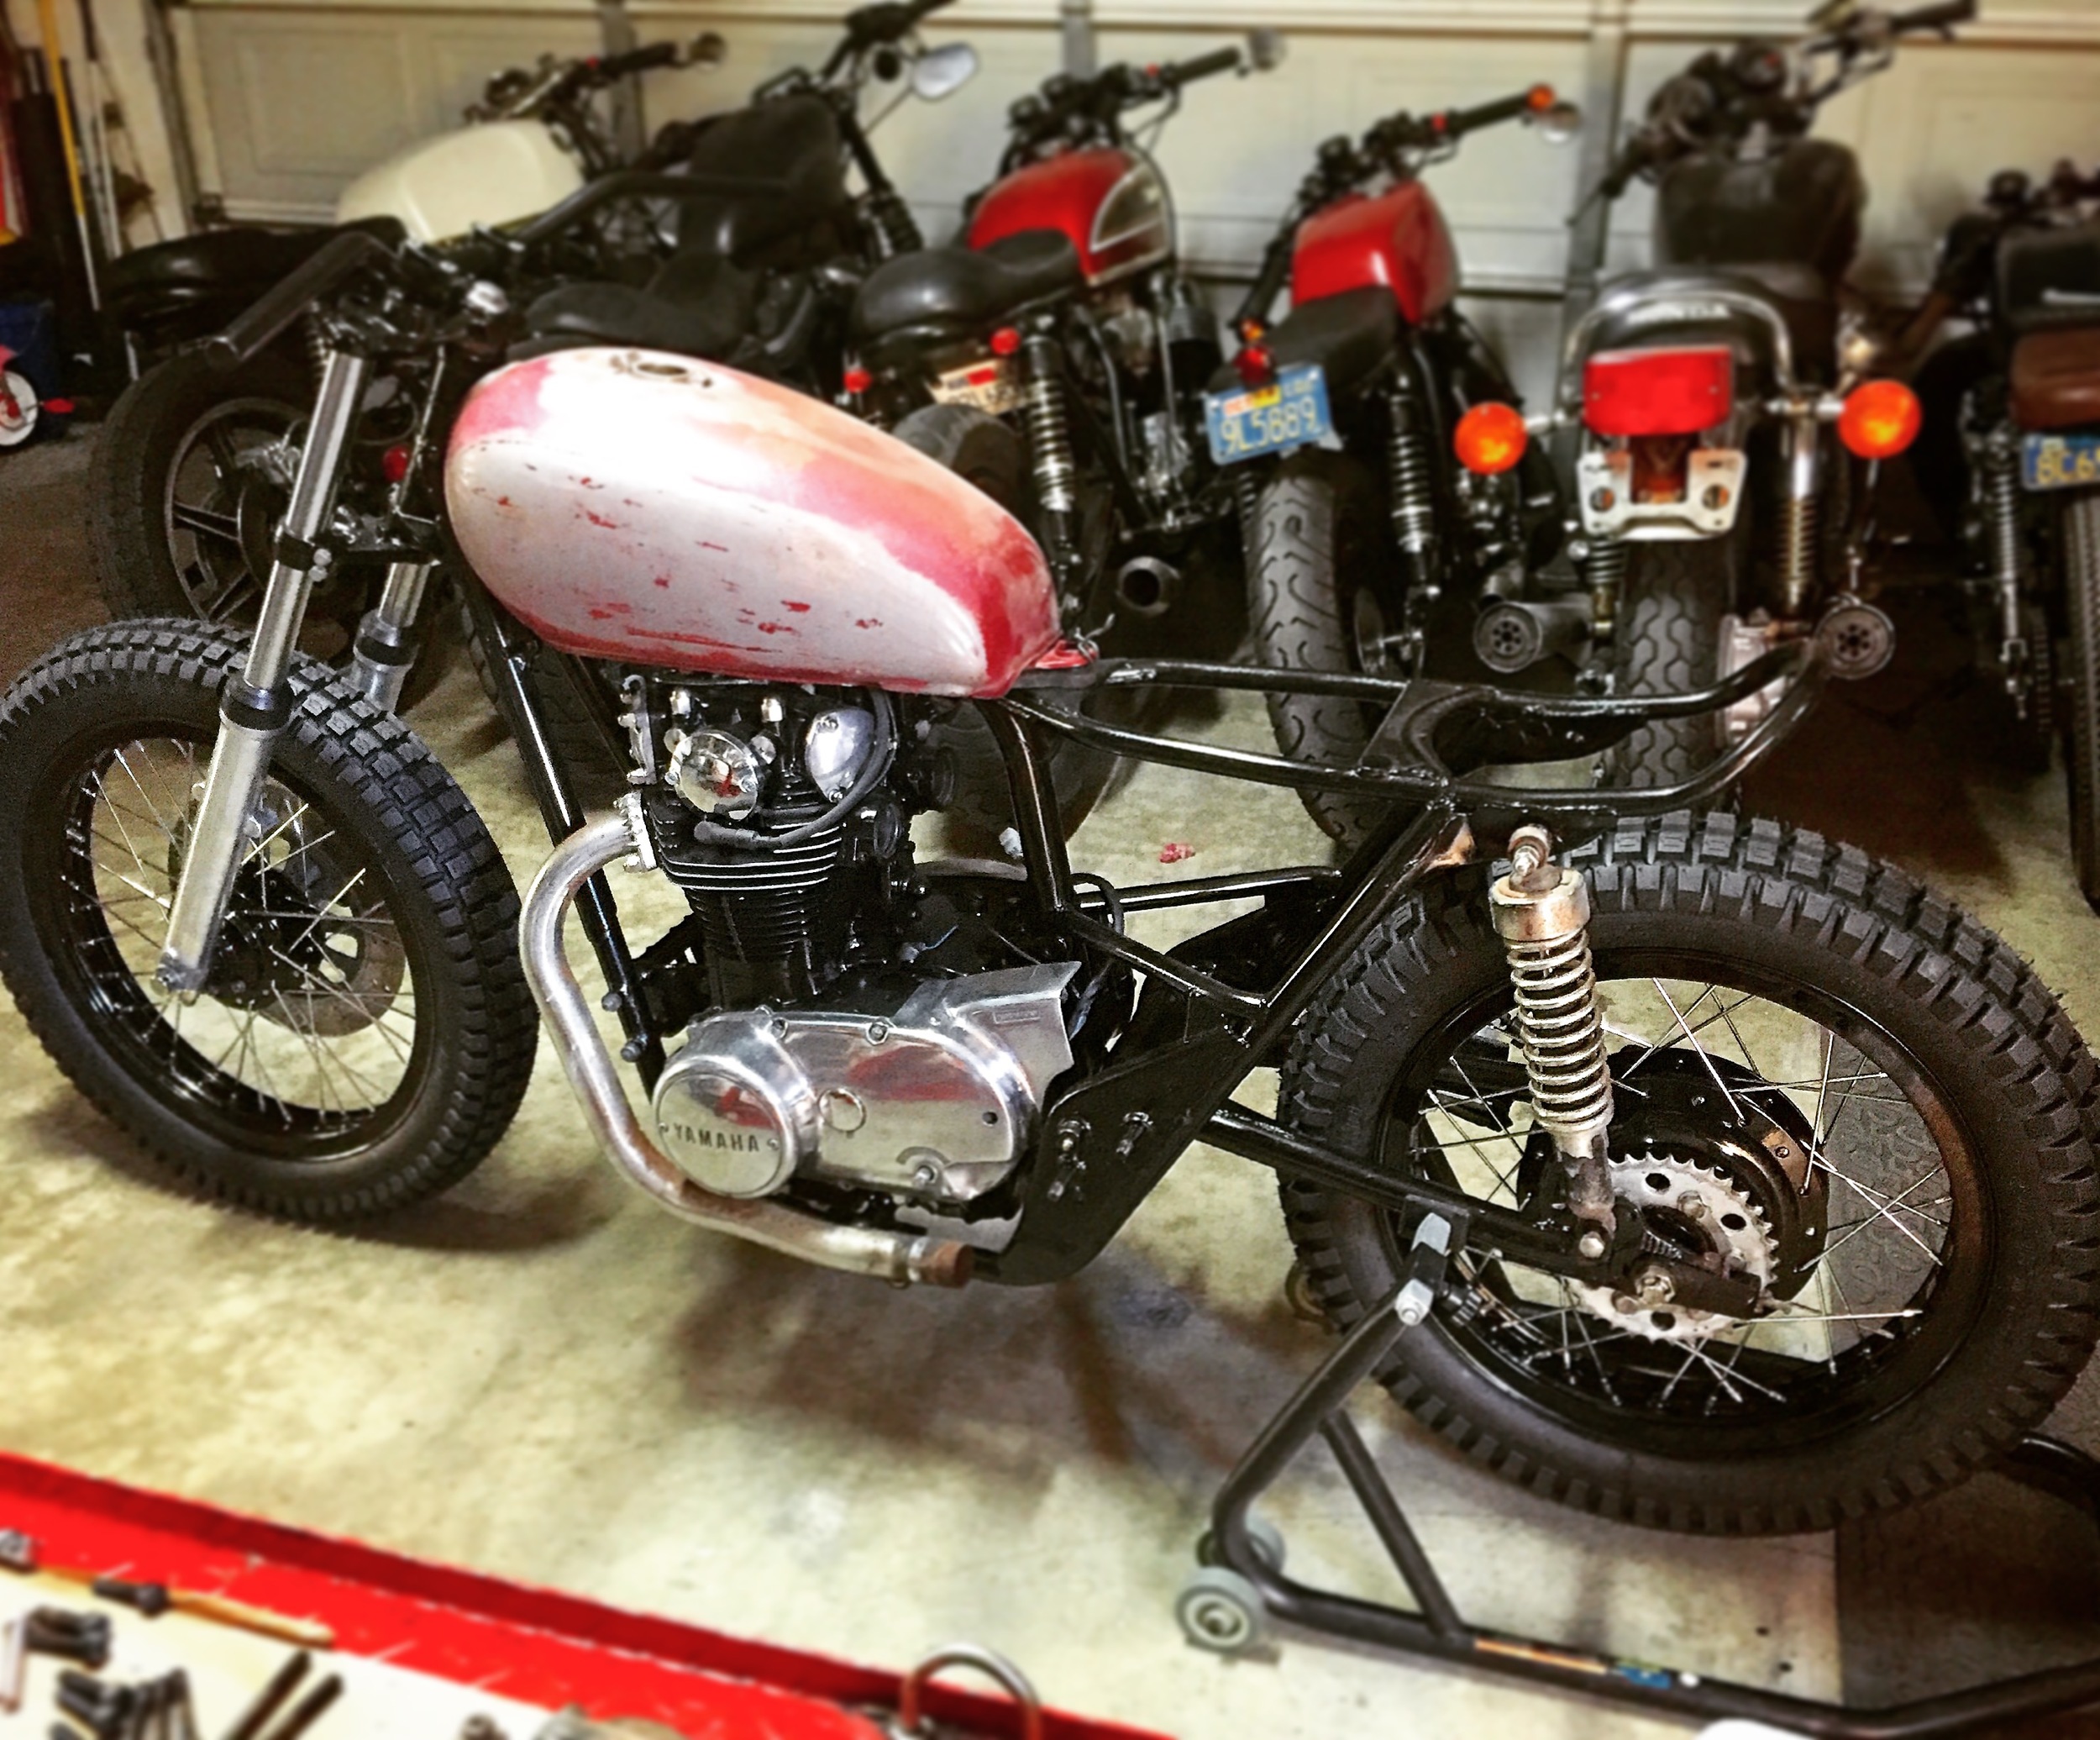
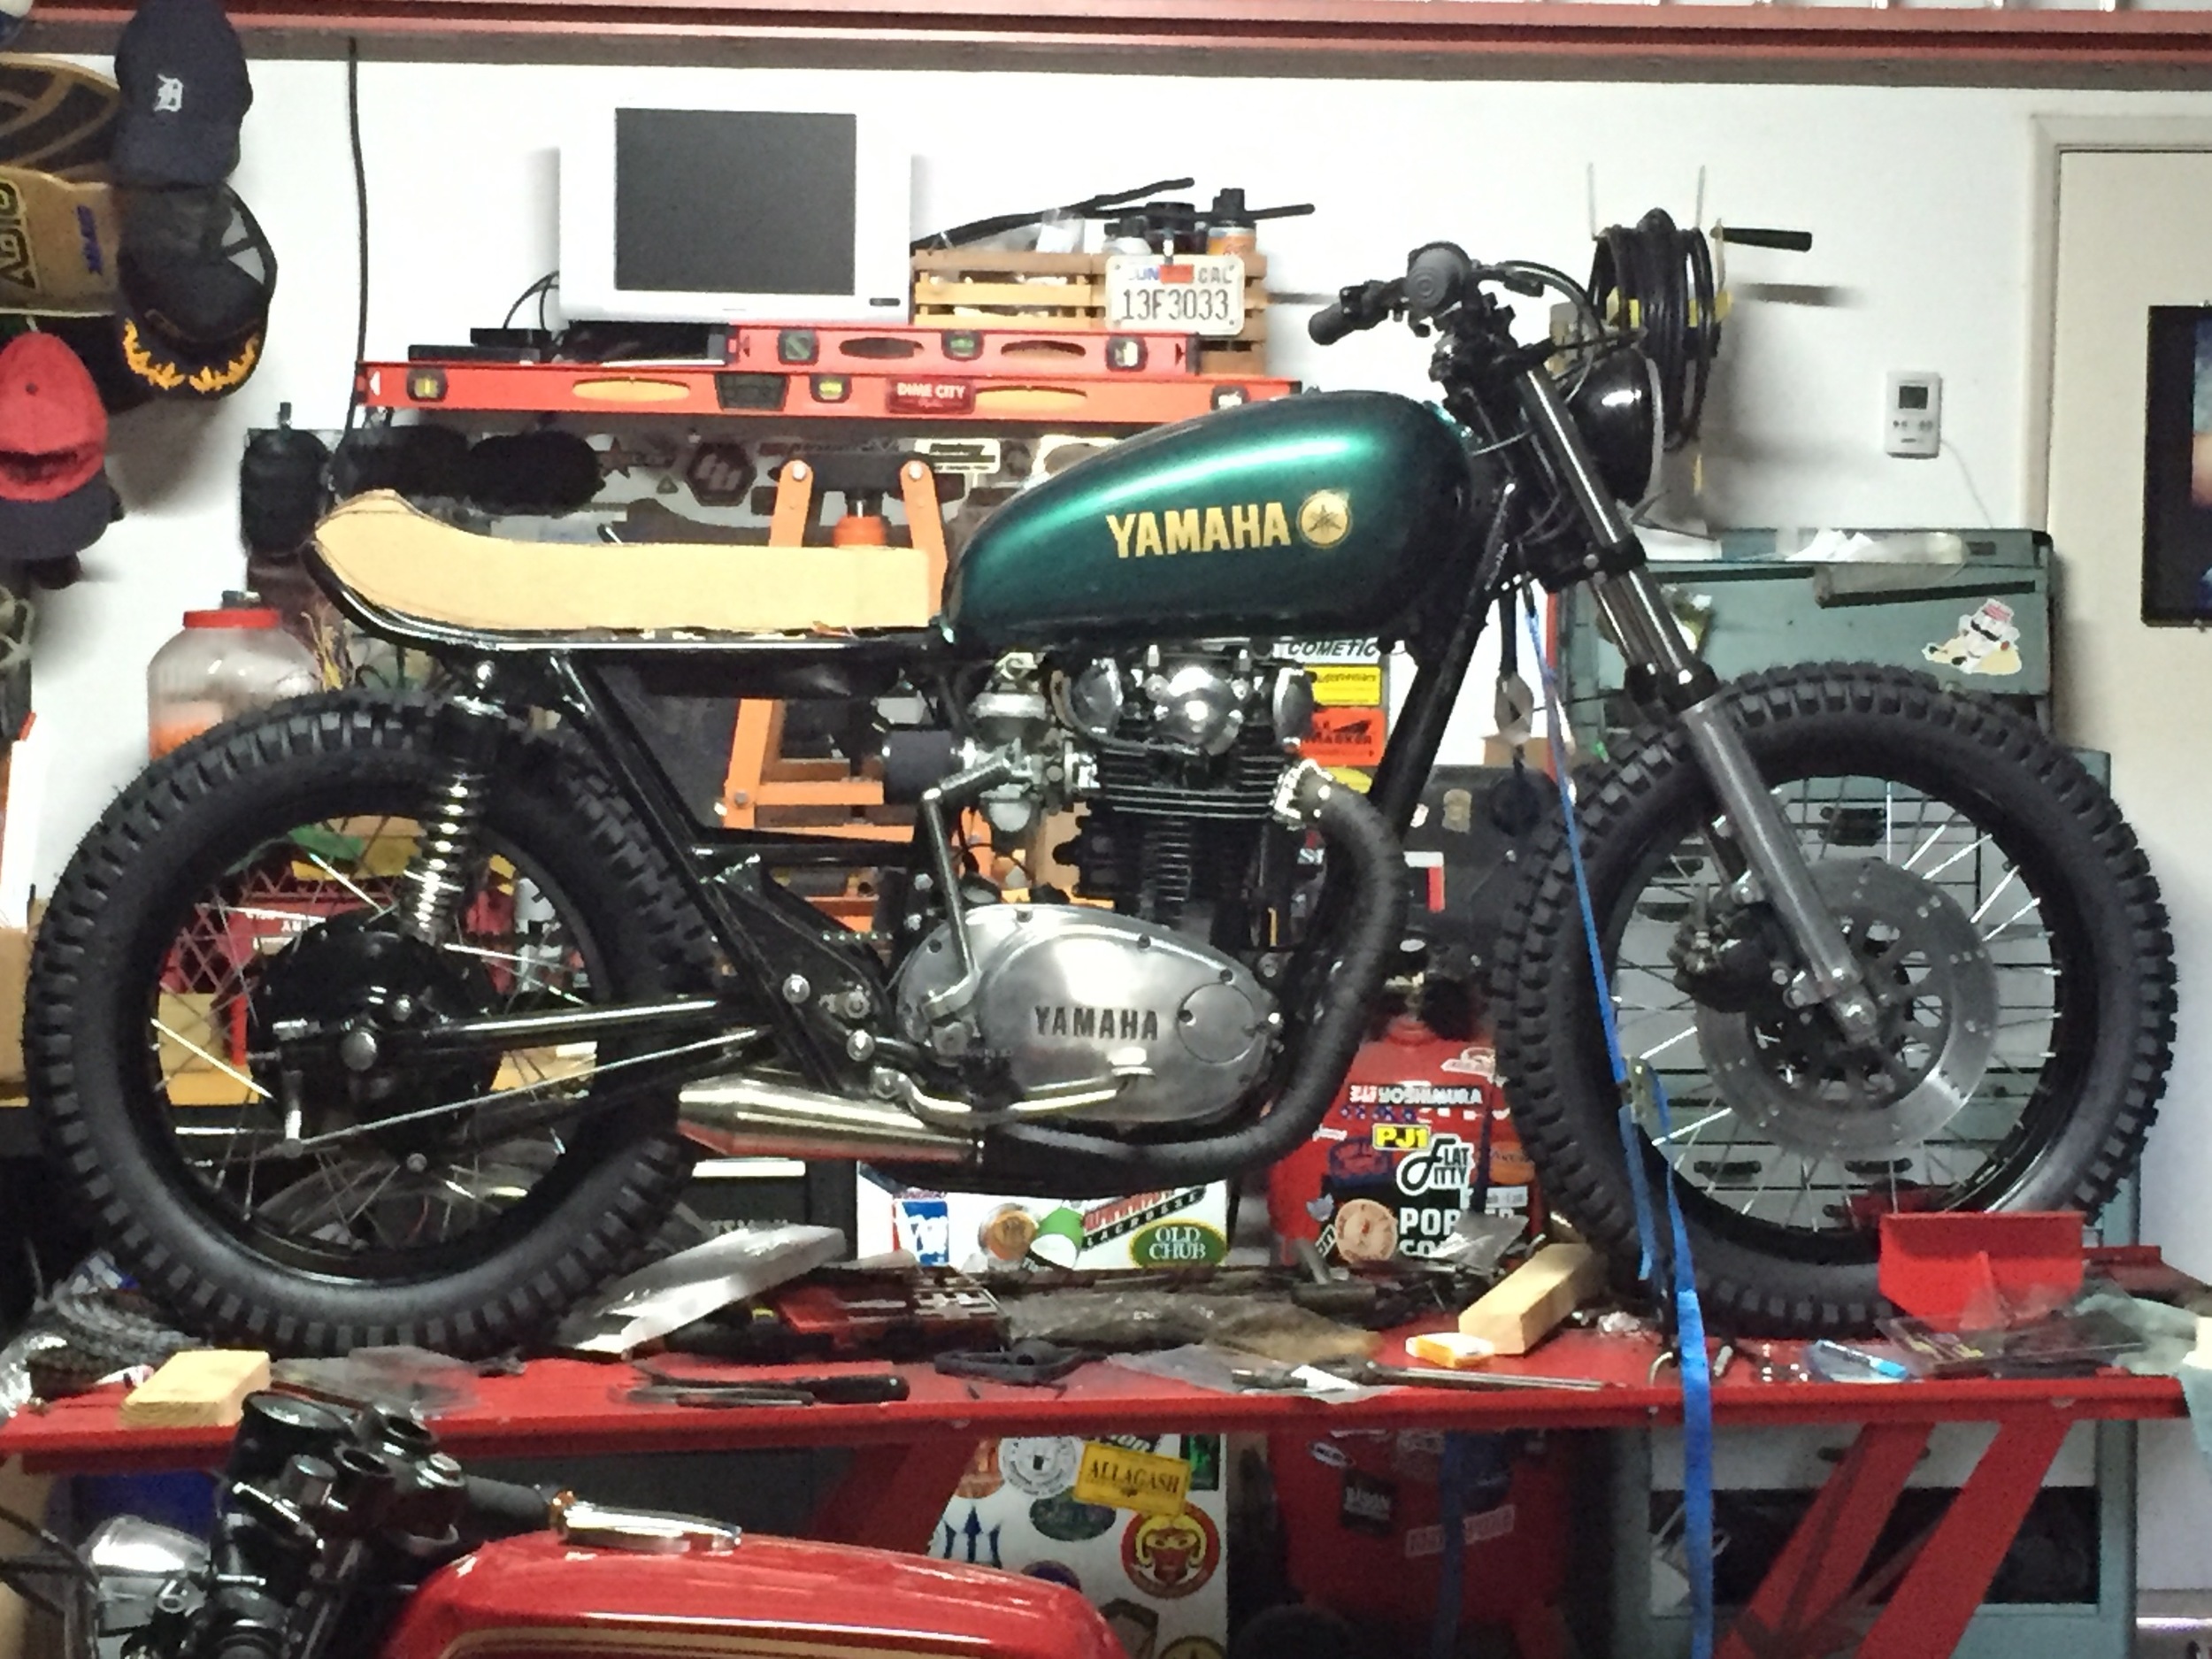
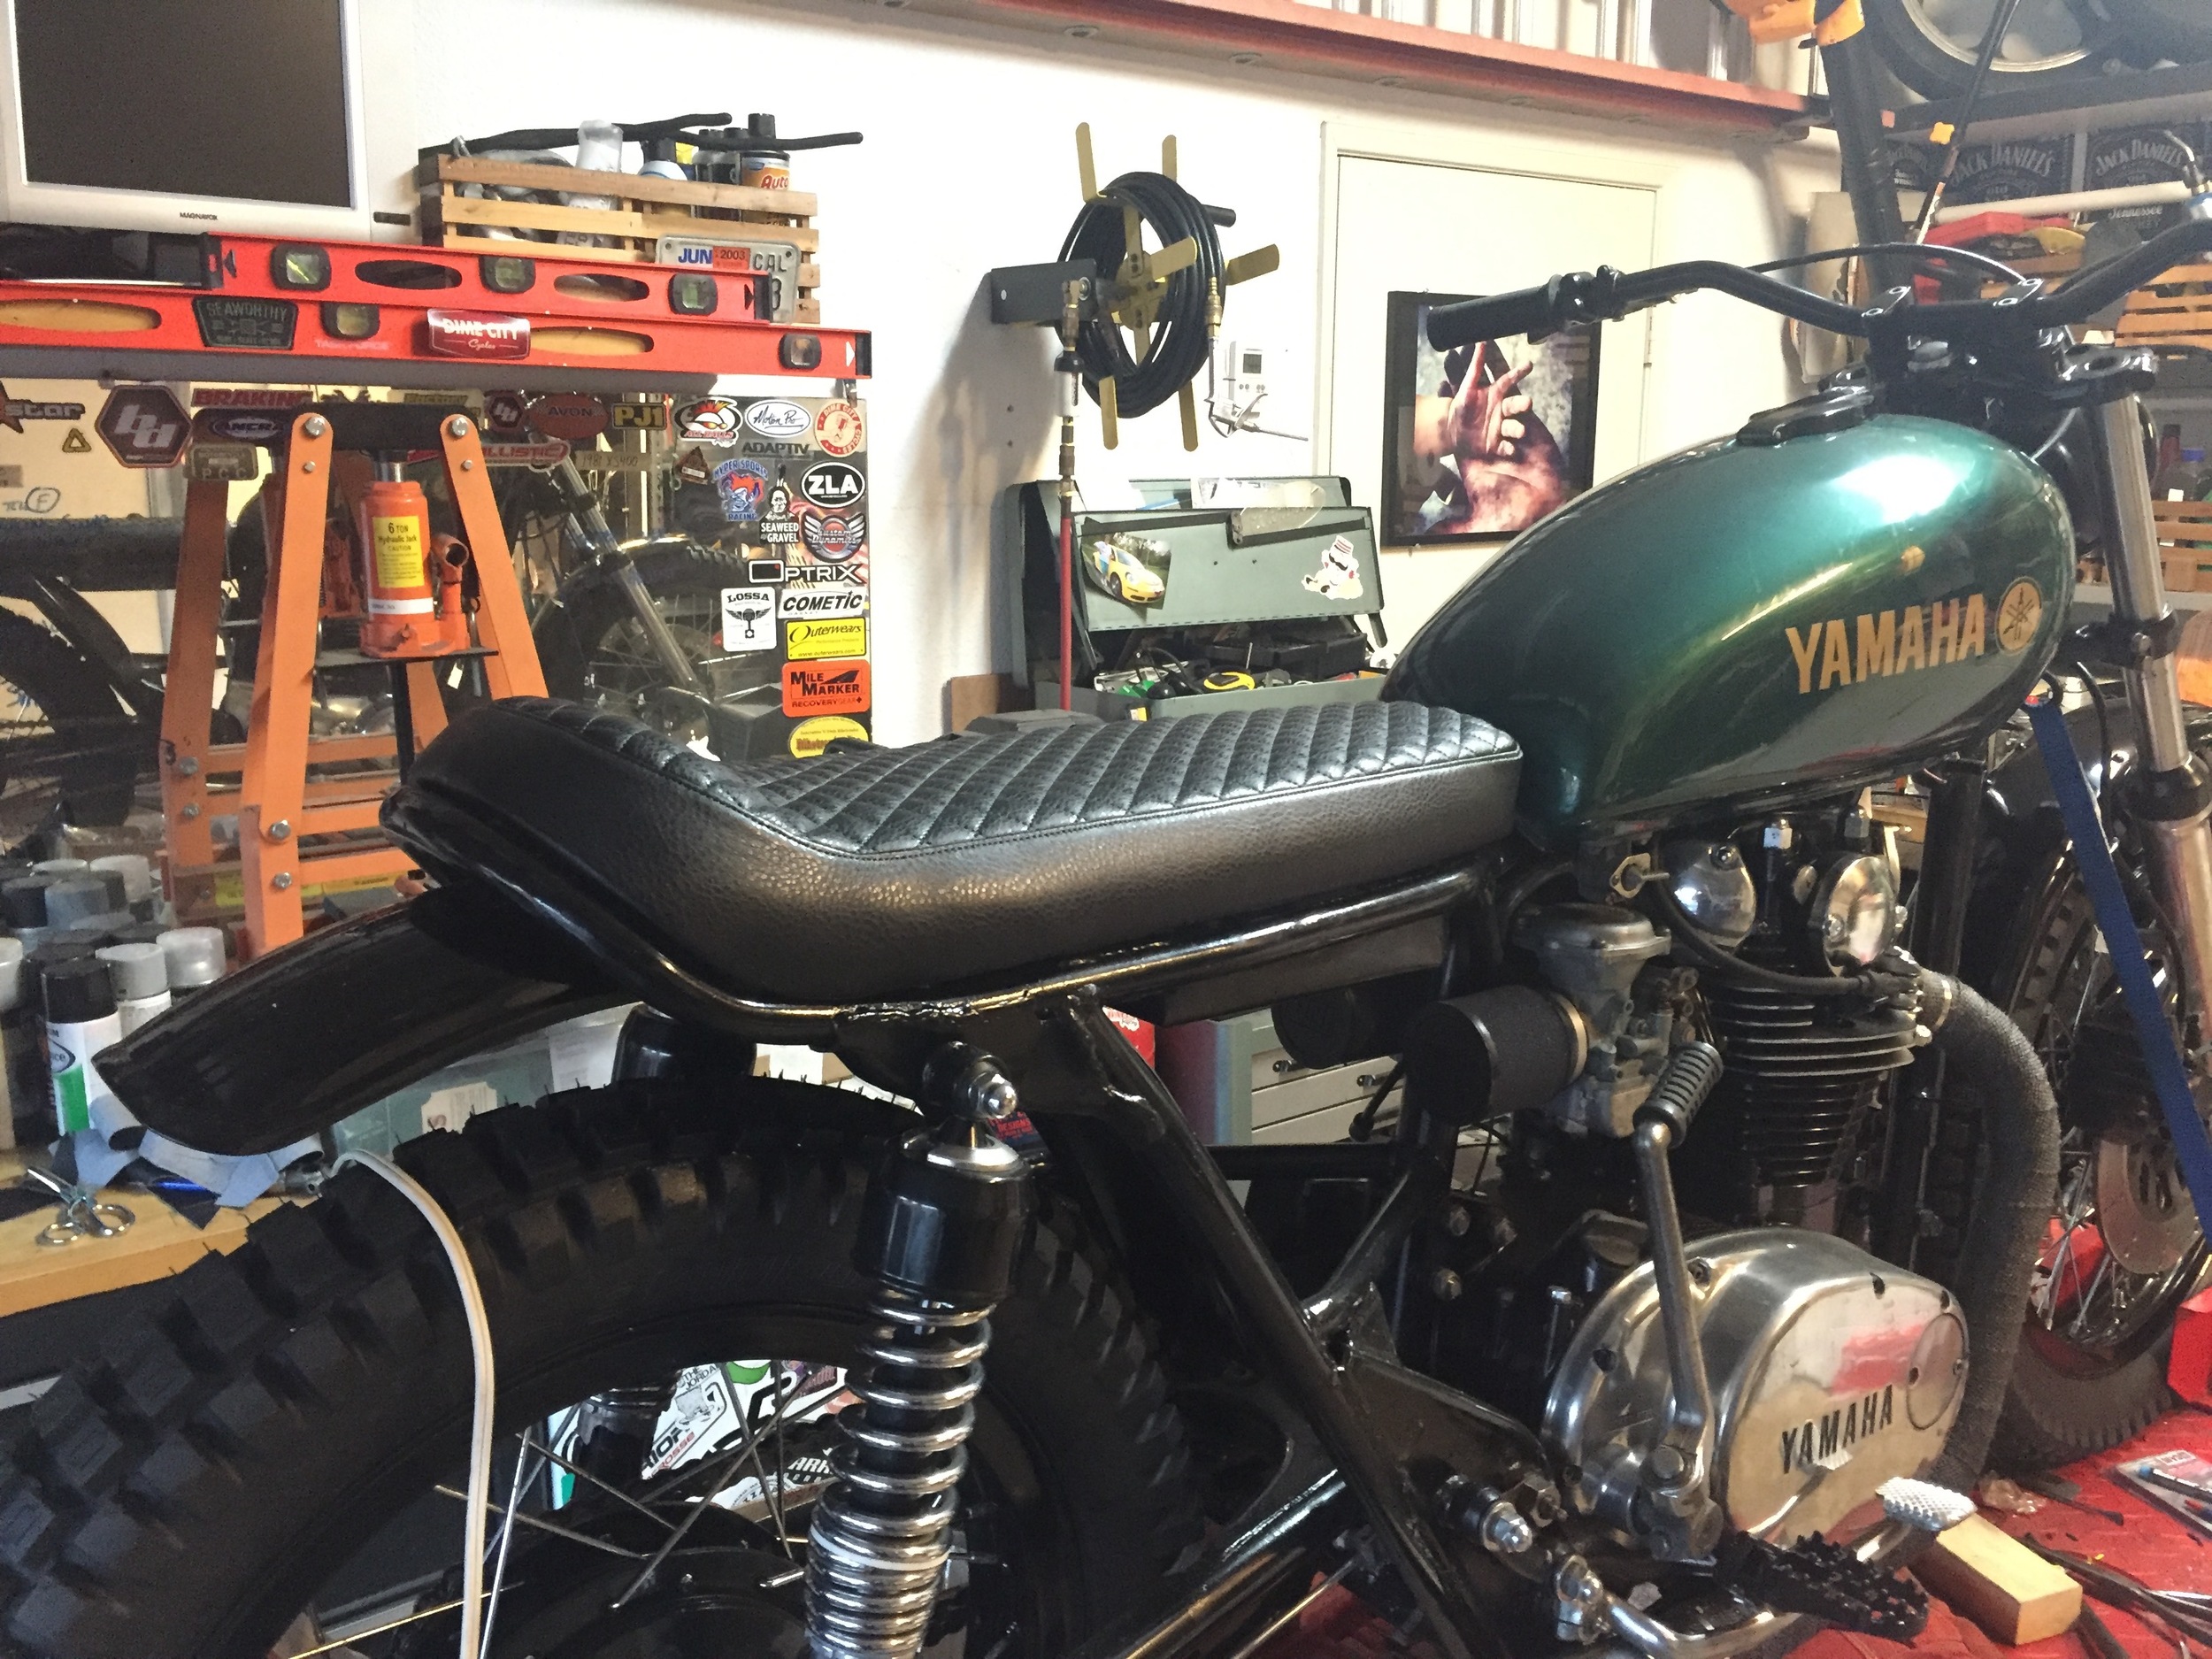
She's rolling! Engine is in and the wheels and tires are balanced and trued. The headers are just a little too pitted to keep chrome without re plating. We'll try a header wrap and see how it looks.
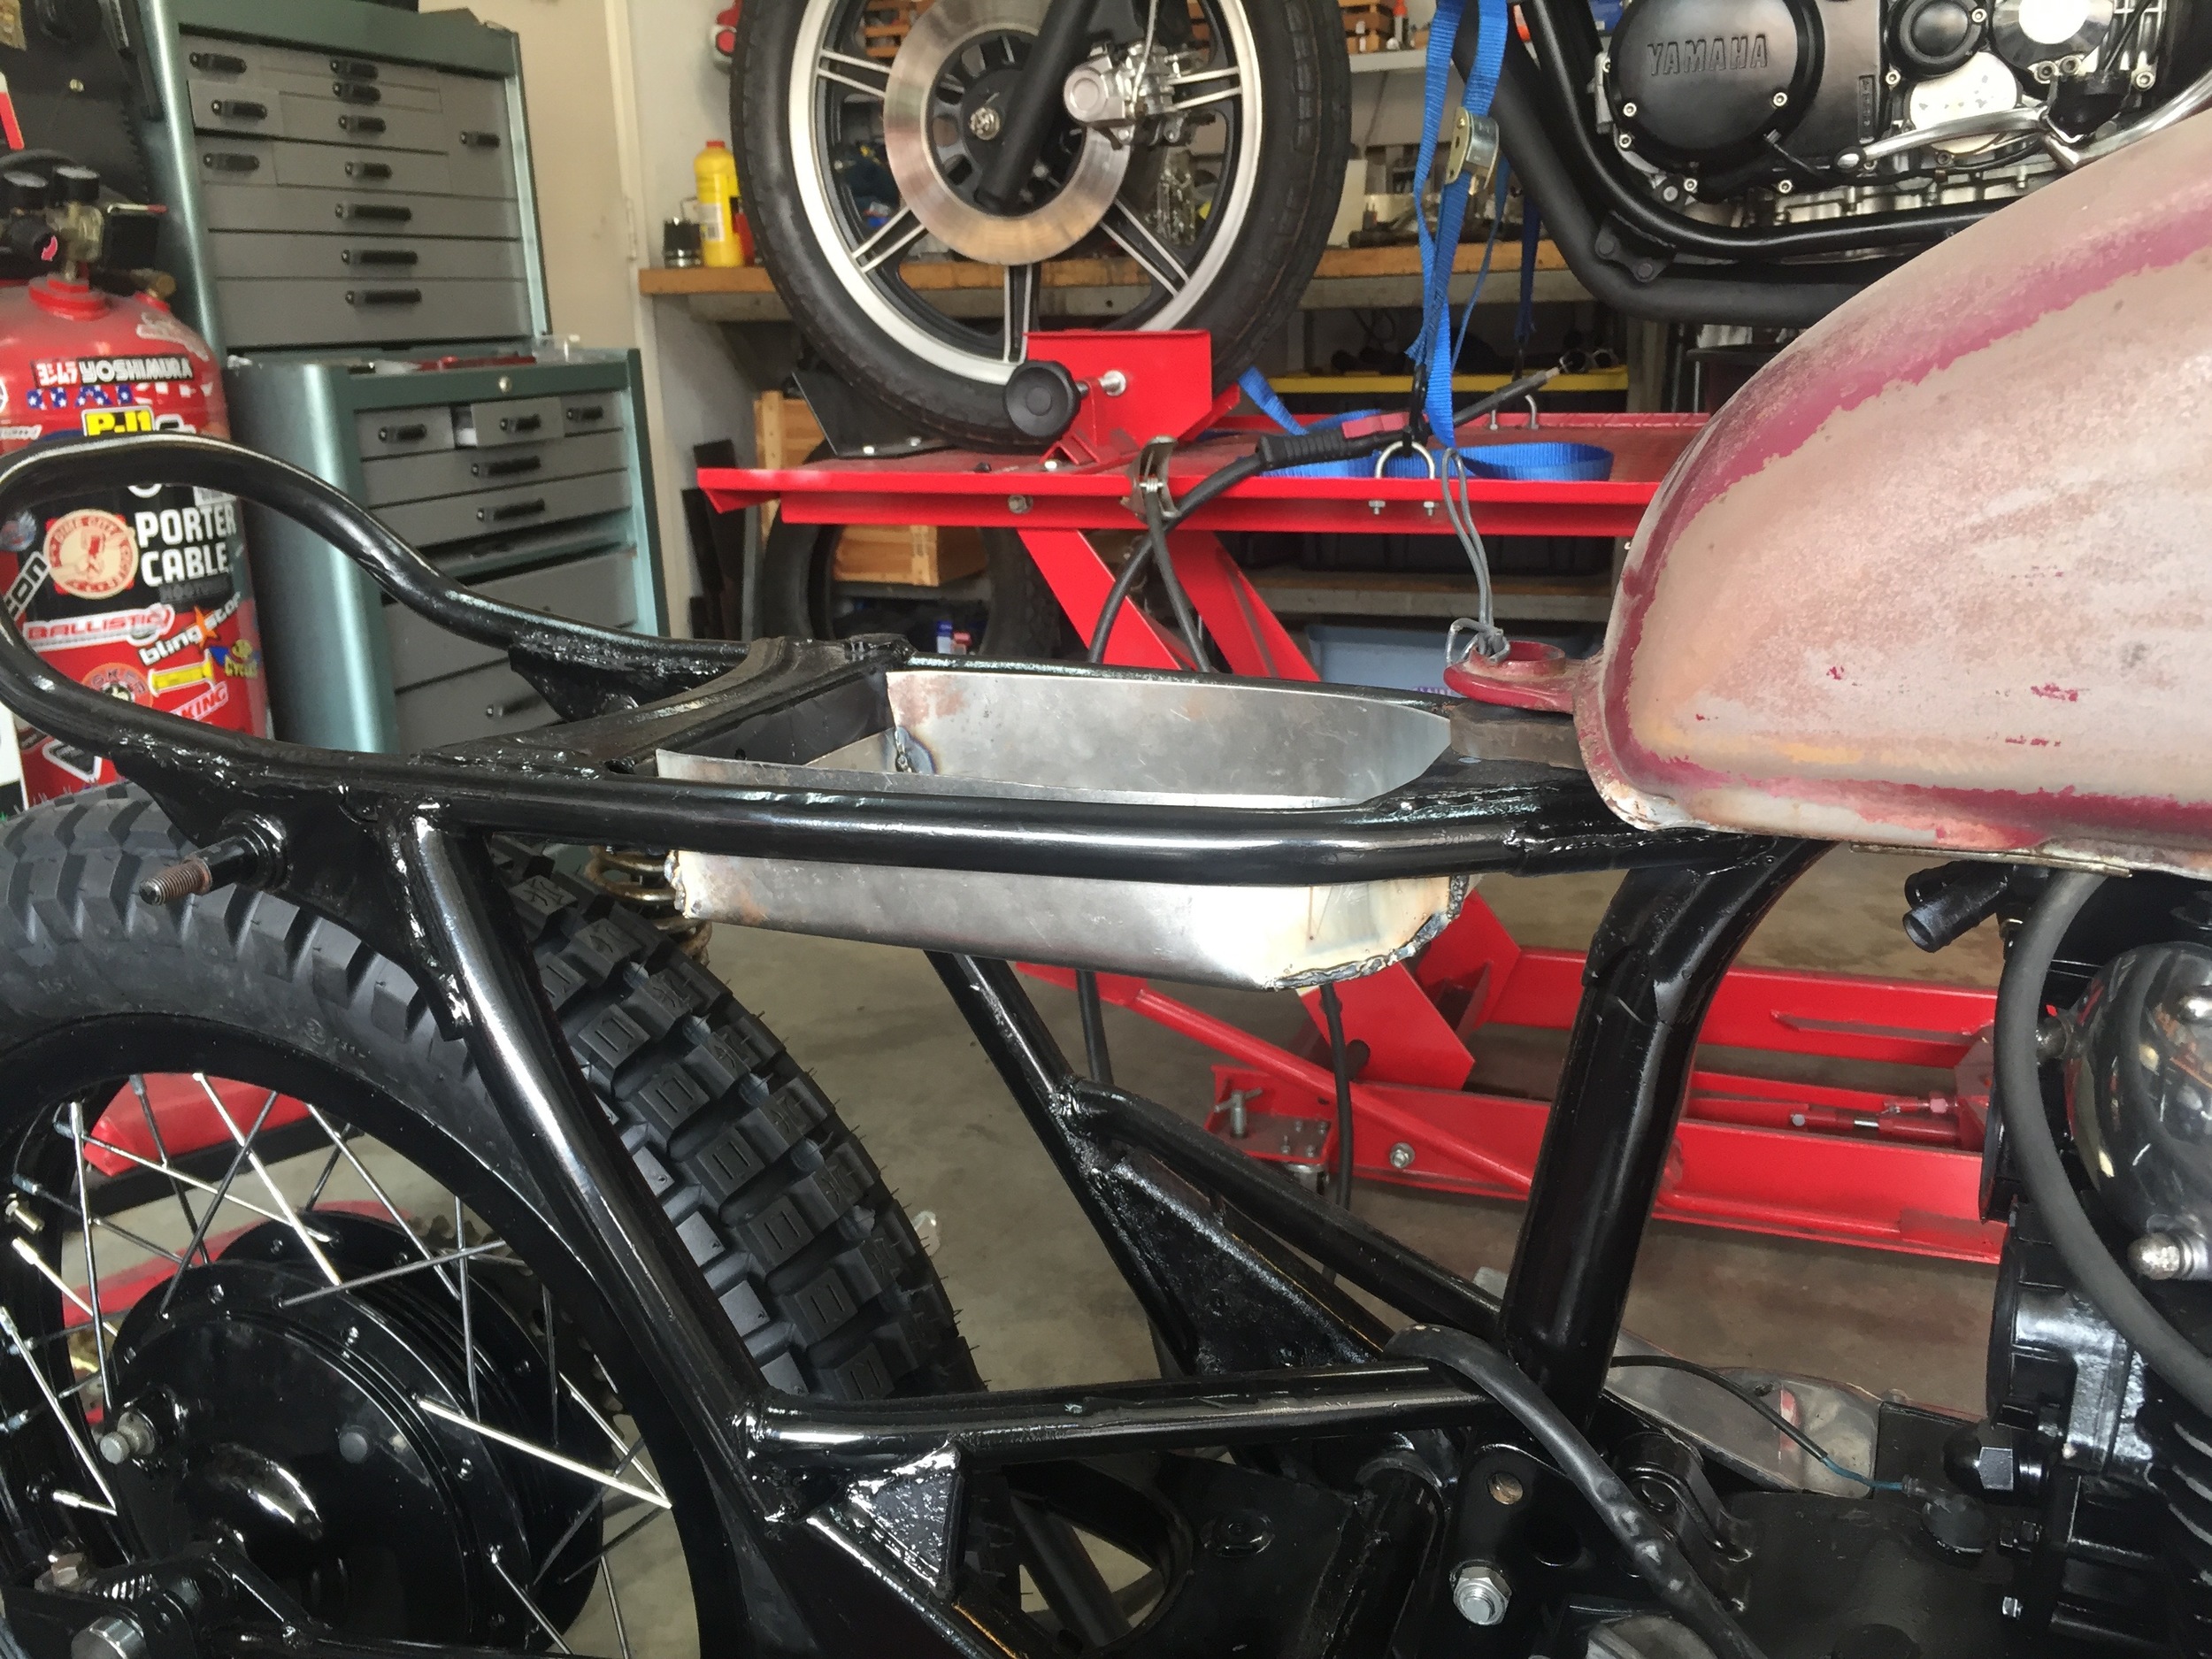
This electronics box is probably a little more space than we really need, but it leaves the option to add a gadget or two in the electronics phase. And it gives us room for the Antigravity battery that we use on all of the builds.
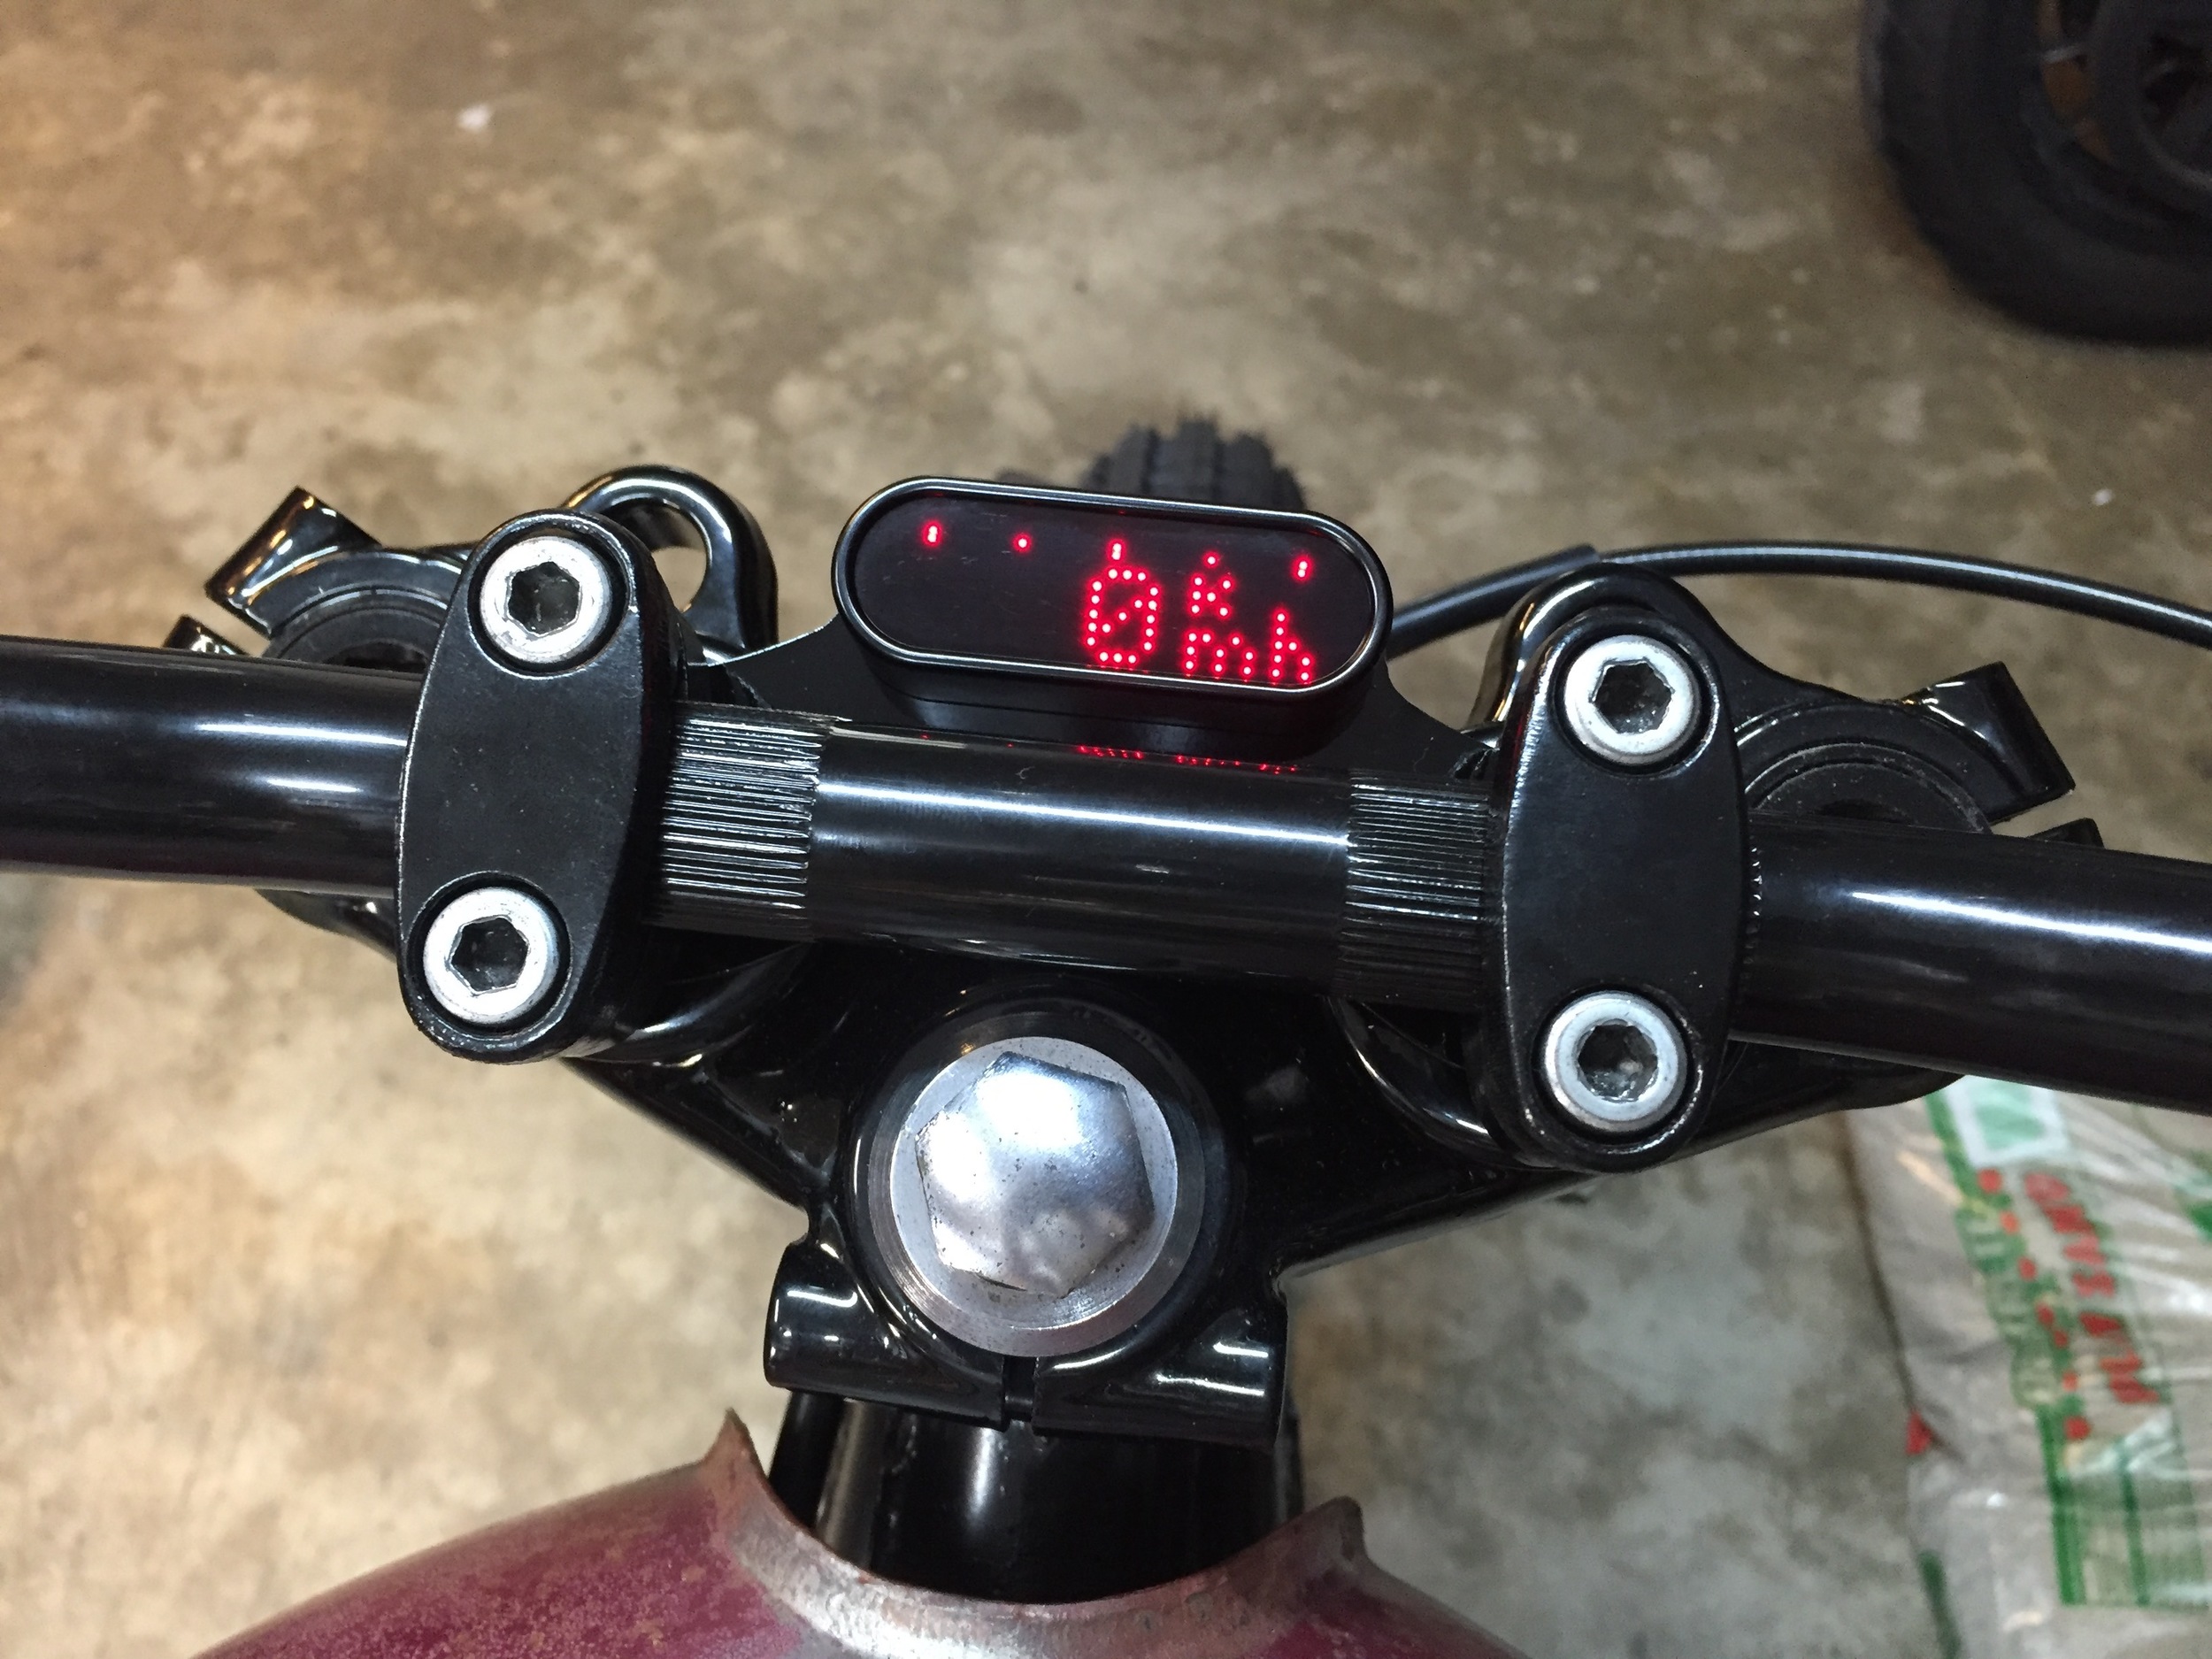
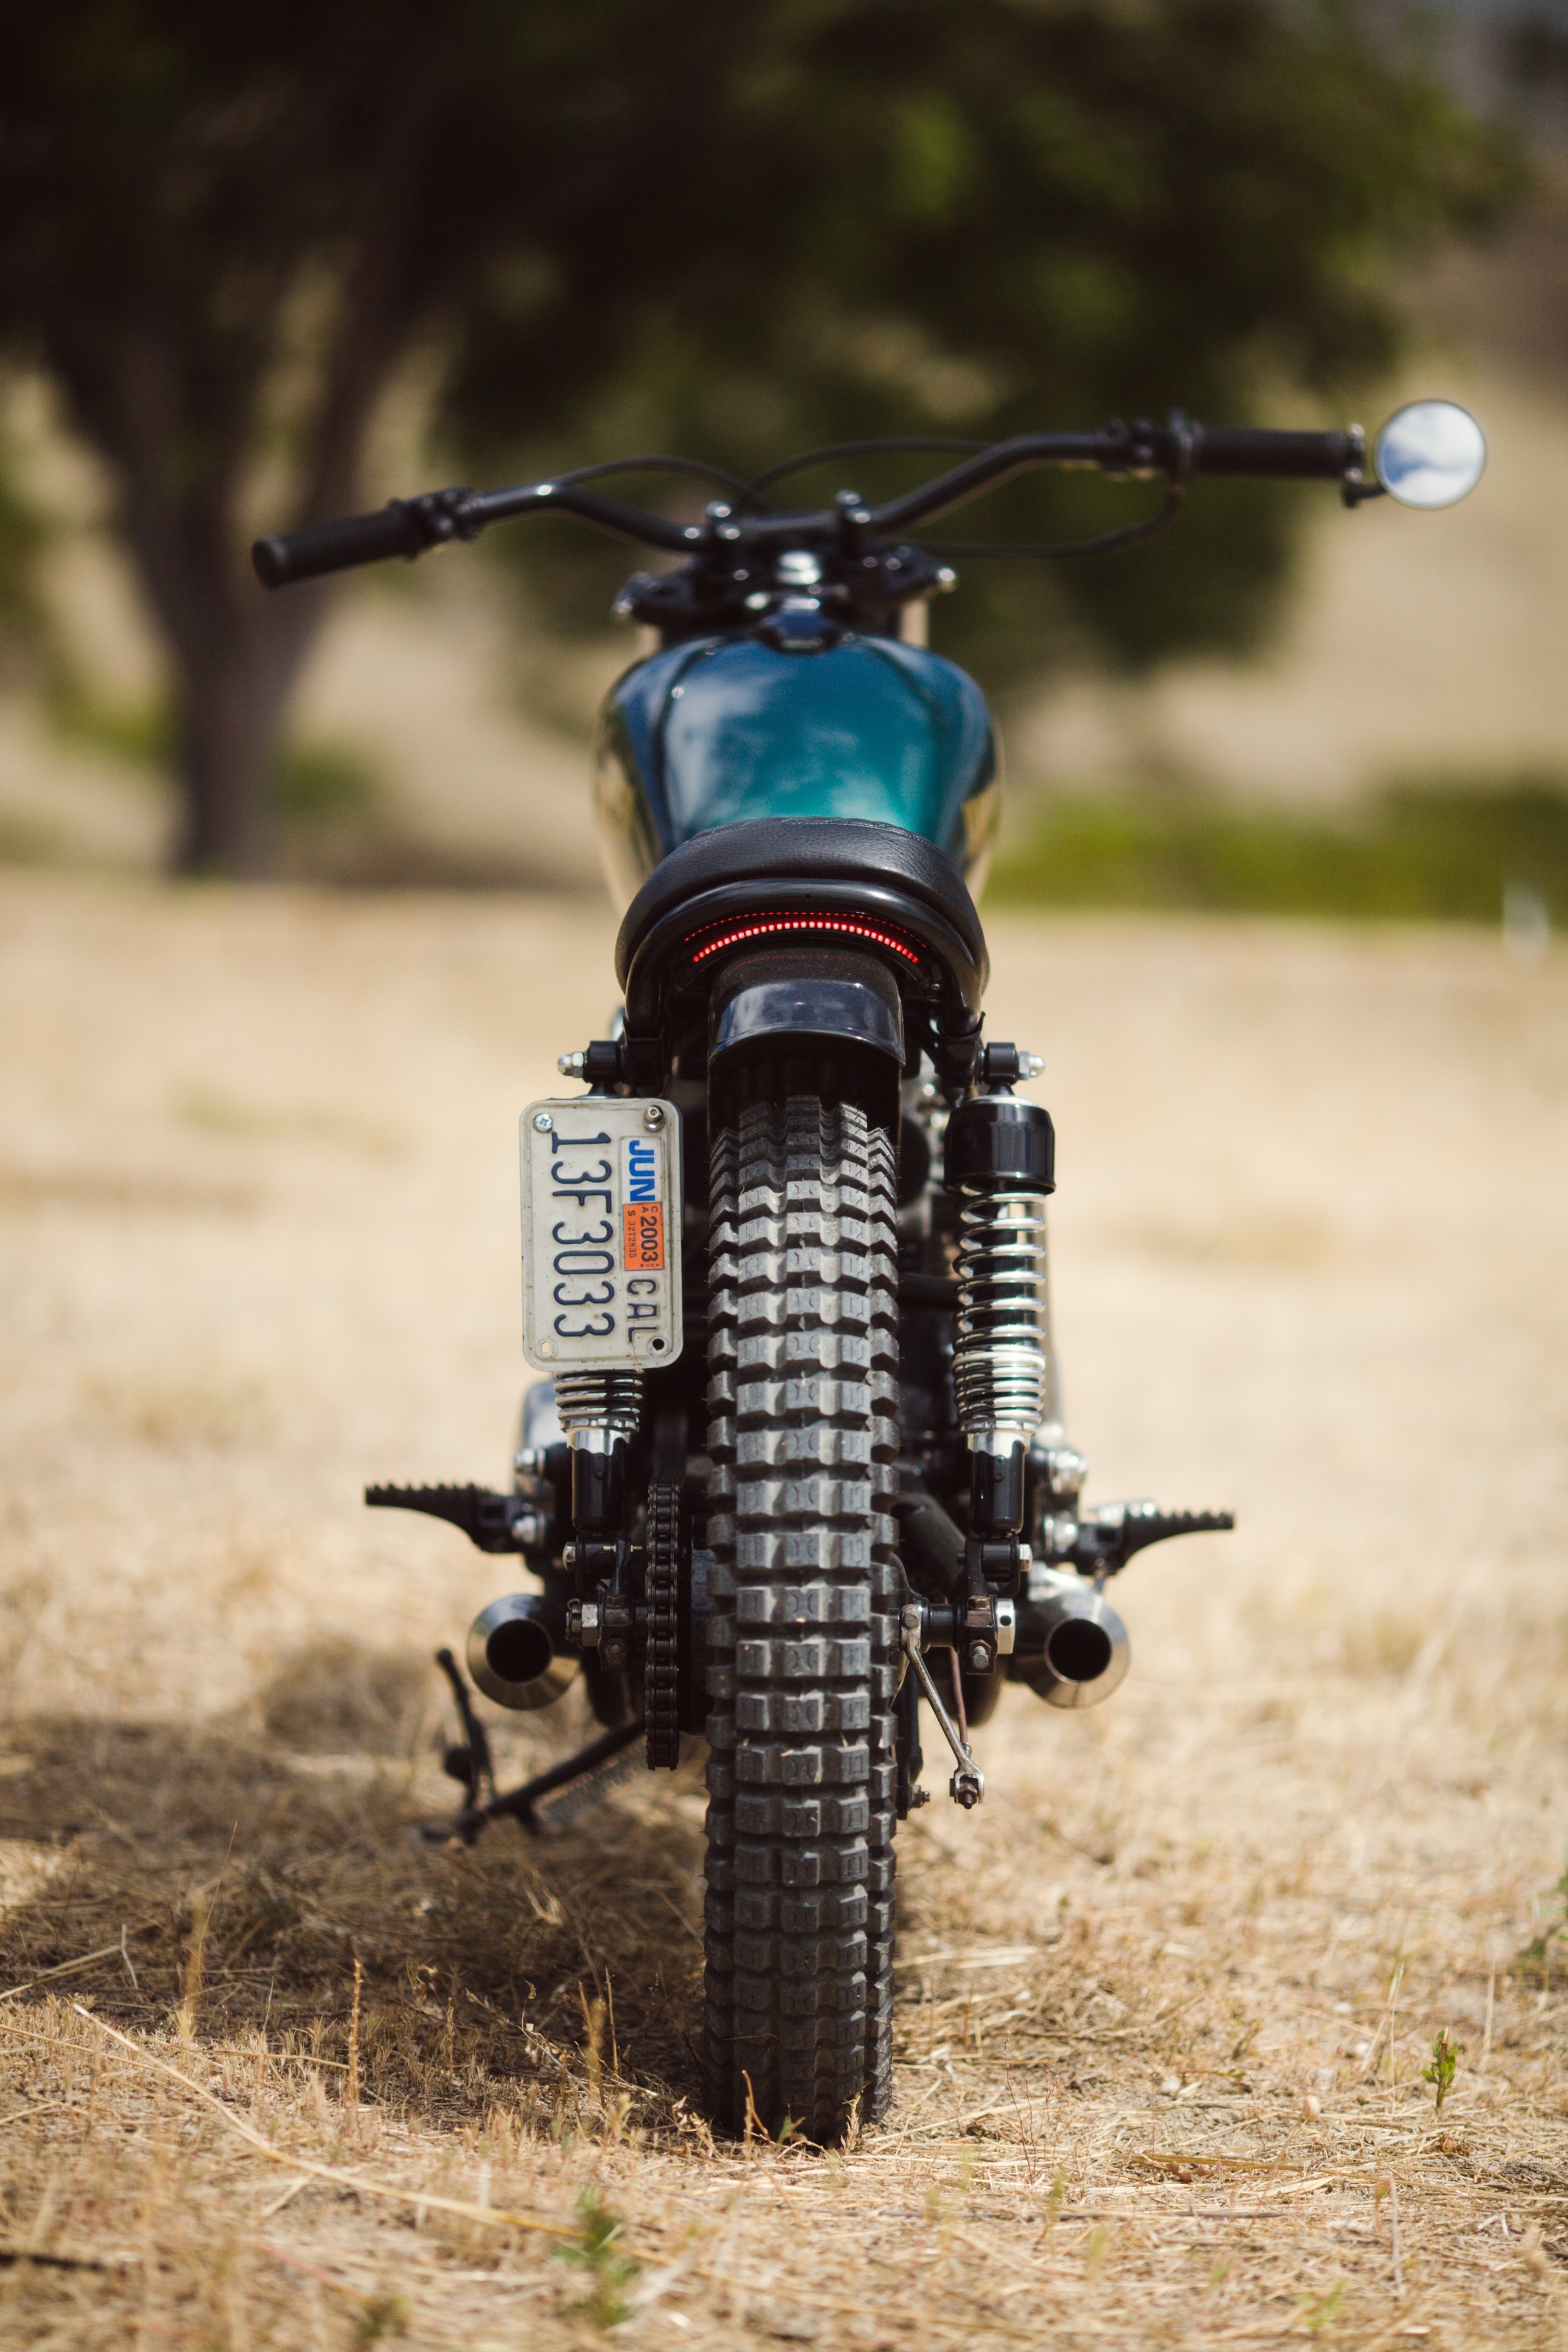
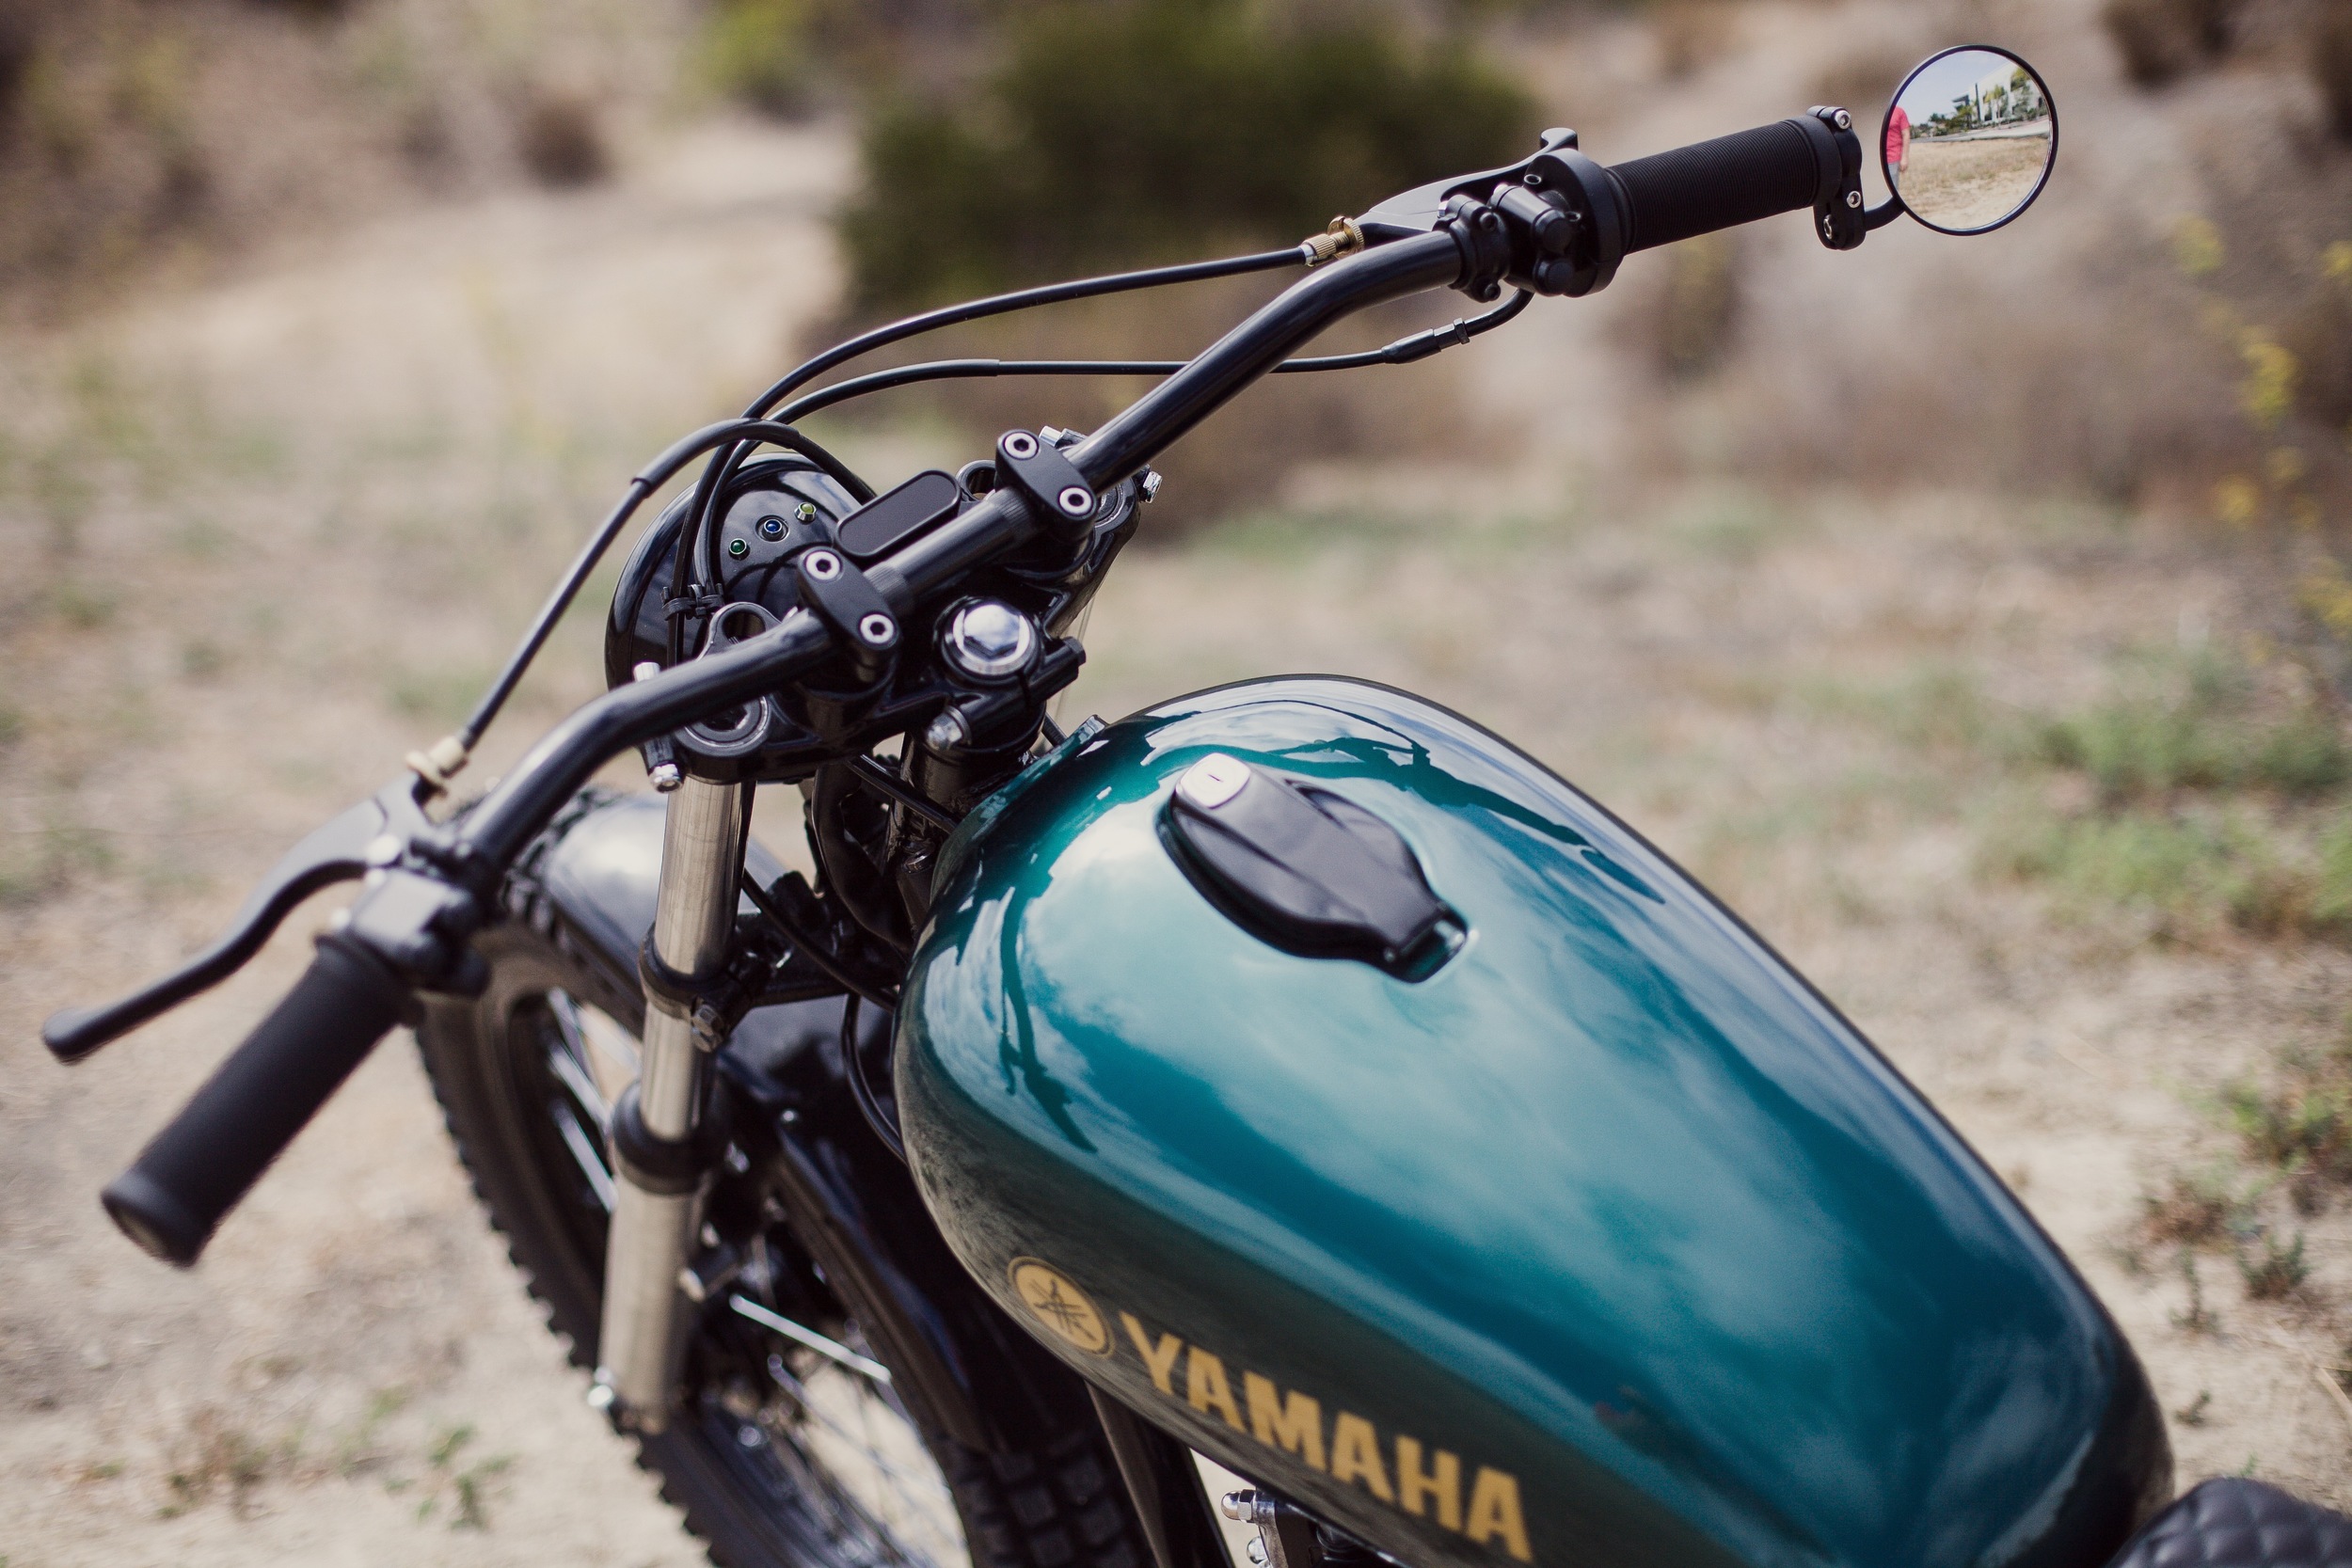
Tech!! We usually keep these vintage builds analog and incandescent. We broke the mold on this one. The LED turns signals are integrated into tail light and this awesome Motogadget Motoscope Mini gauge. If you aren't familiar check it out here: Motoscope Mini
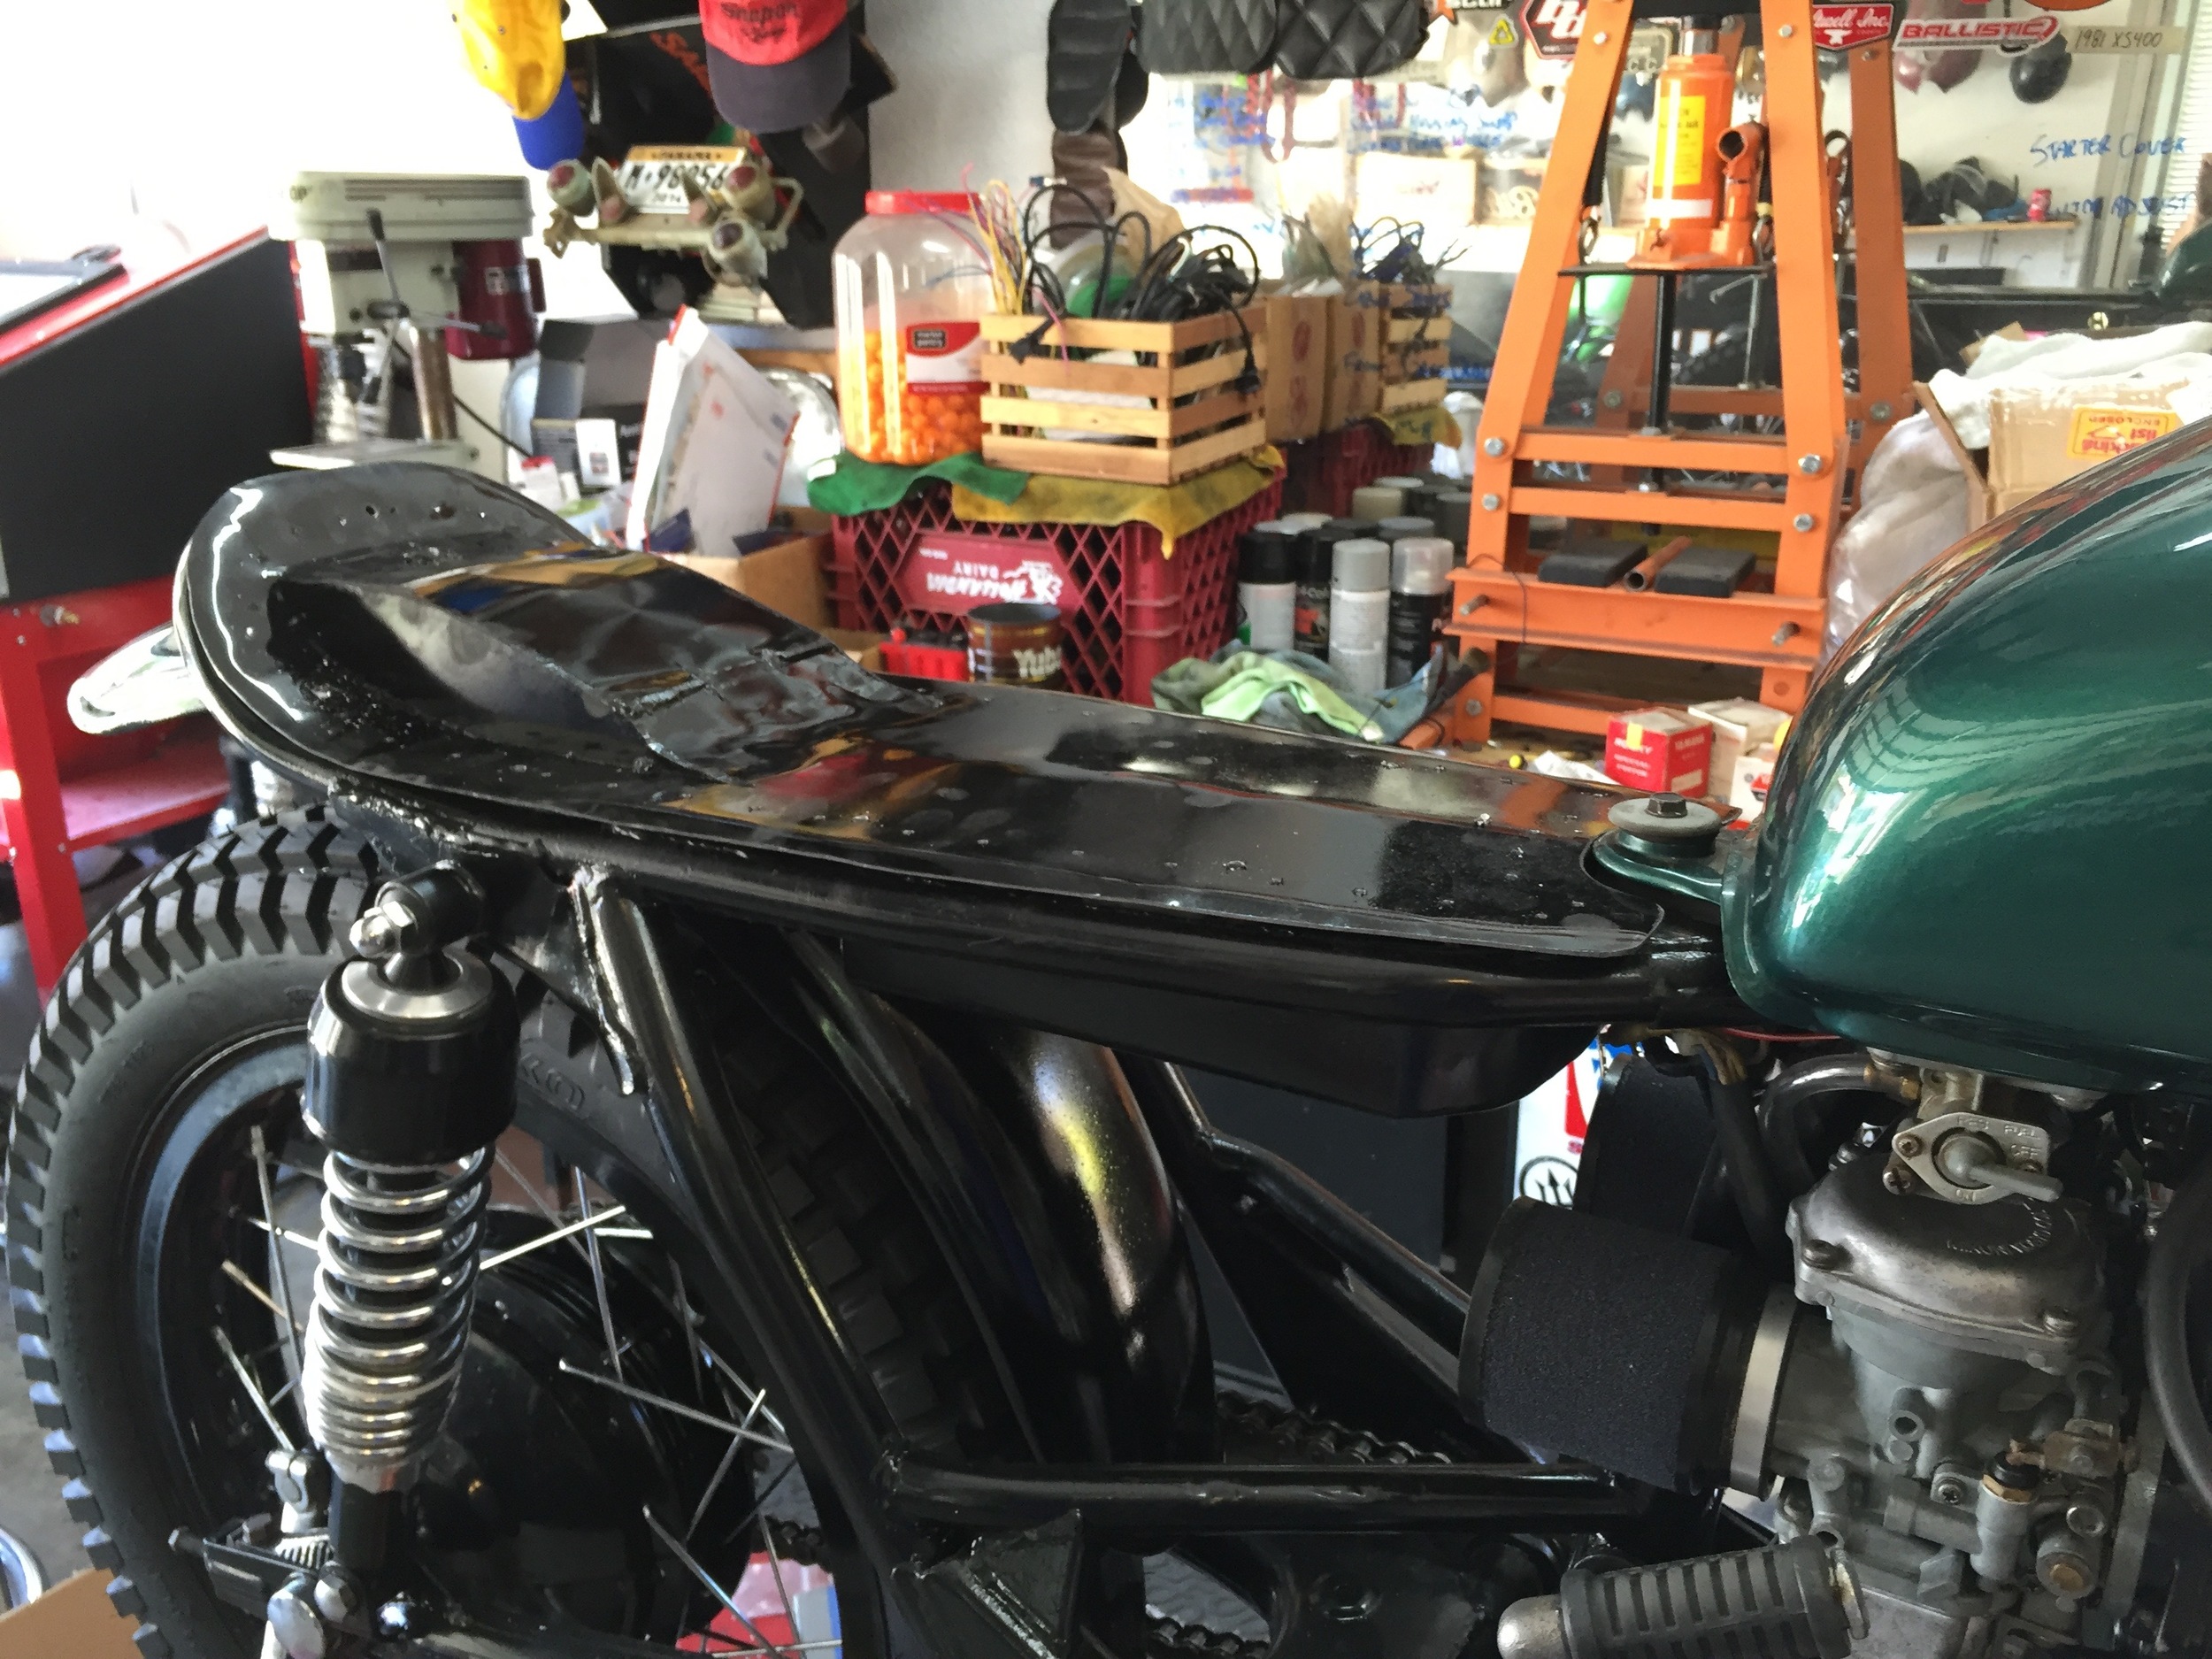
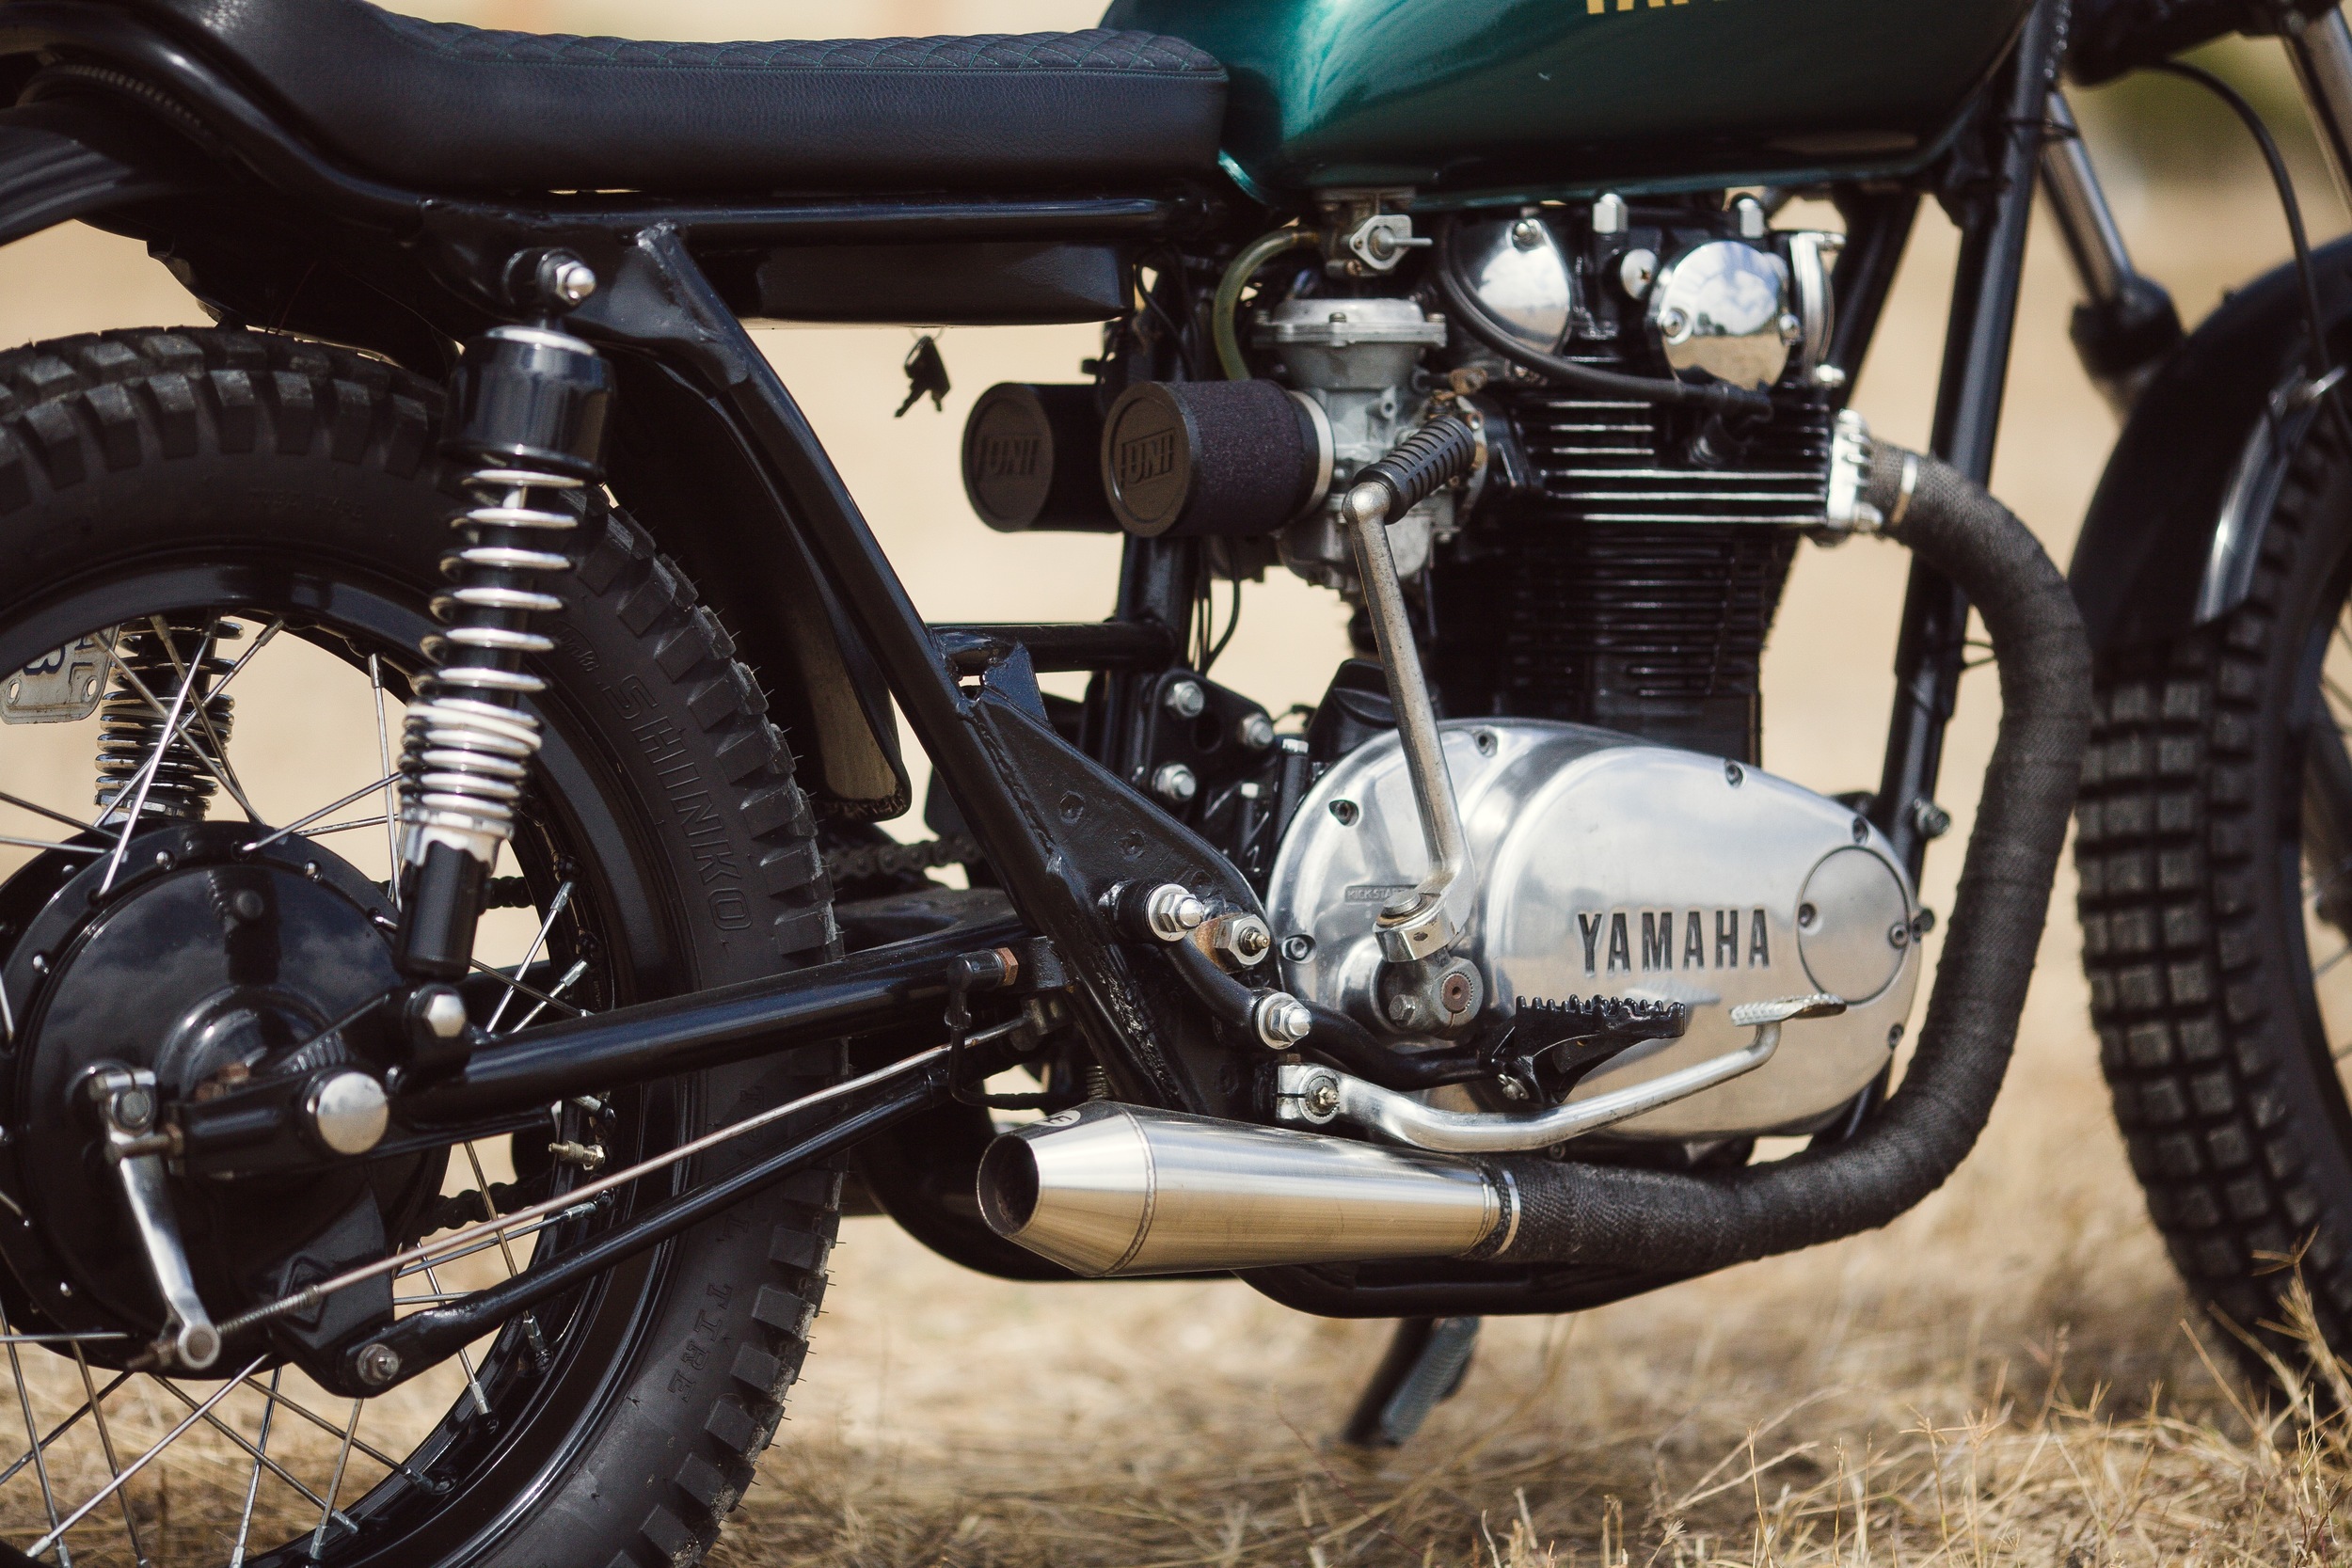
Headers are wrapped and the Lossa Engineering Shorty Mufflers are installed. It is time to look at the seat. These are early stages of seat design. If you are going to wrap your headers, don't buy the cheap stuff! It falls apart. It is hard to install. It will fill your hands with itchy fibers! Get the DEI Titanium Wrap. It is everything that the cheap stuff is lacking!
Every seat needs a seat pan. Some are a little more trick than others. This one had to make room for the rear fender.
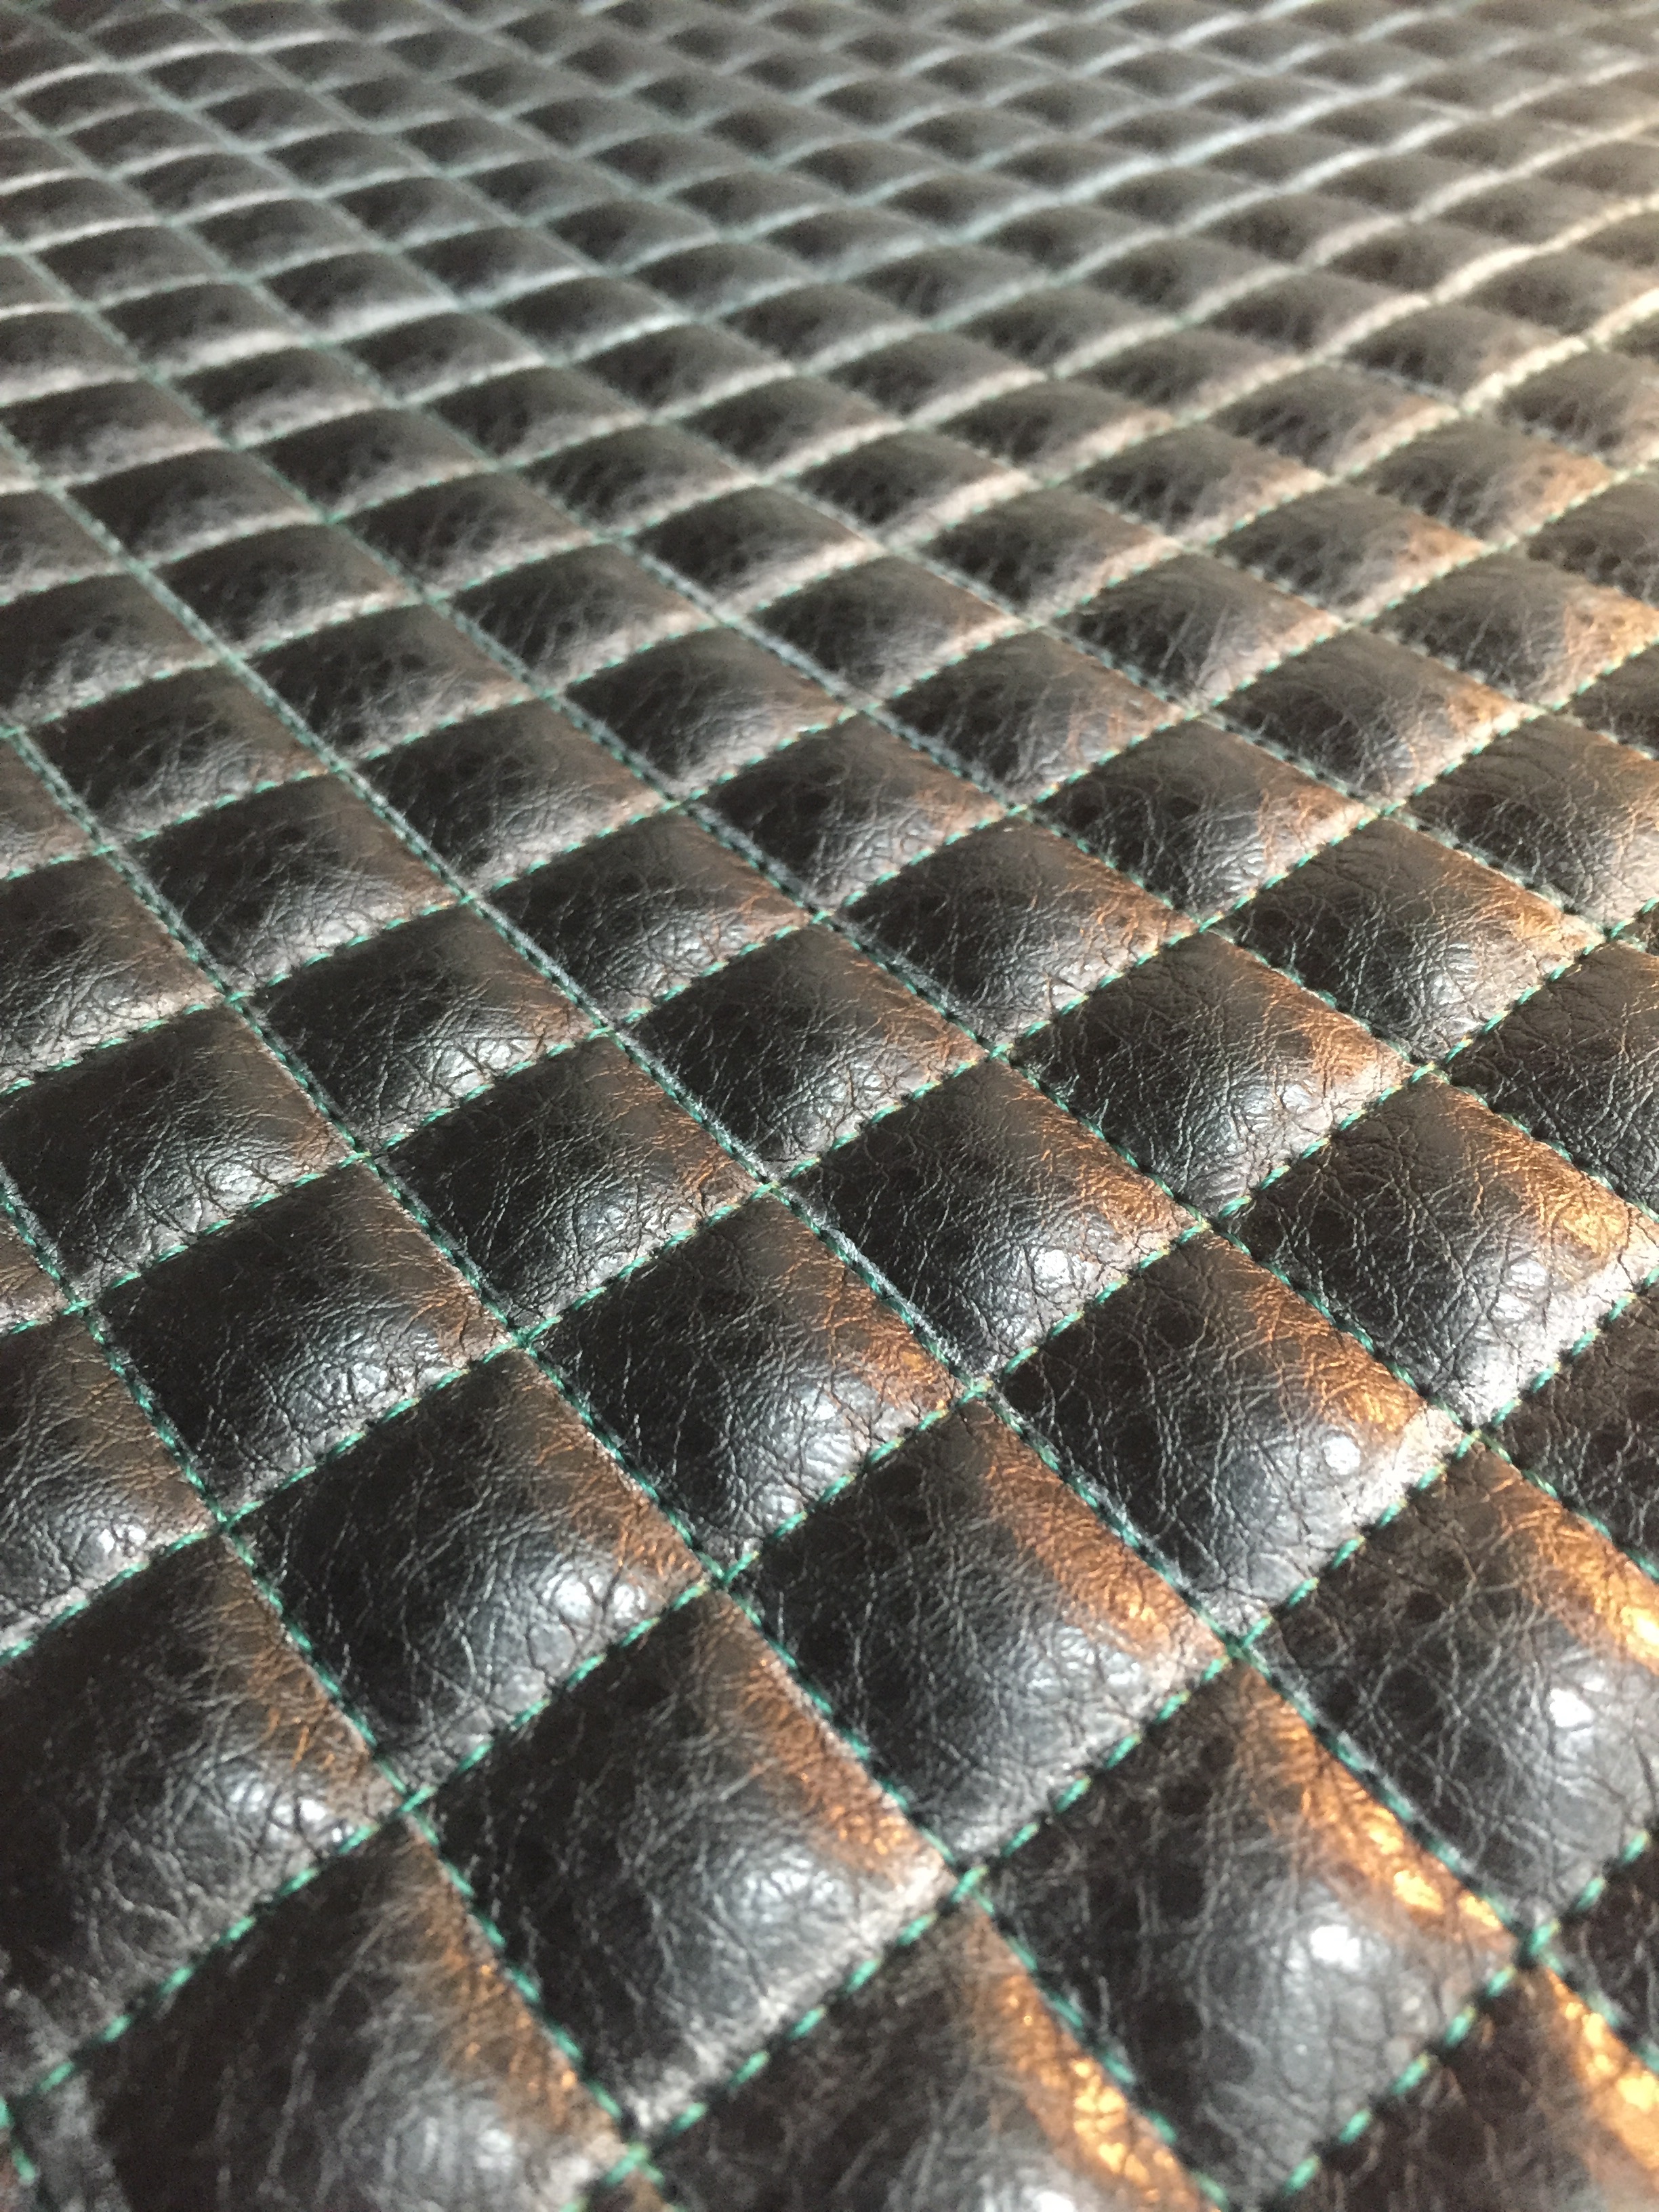
We took a risk on contrasting thread. This green matches the tank perfectly and is hardly noticeable at a distance. It turned out looking great! The foam backing made these quilted squares really stand up!
We ran the UNI Pod Filters on this bike because we knew it would be kicking up some dust!
We used a remote brake master cylinder located under the tank that is cable driven. It keeps the bars looking super clean! Additionally, we used these gadgets:
Motogadget m-Unit V2 Digital Control Unit and Fuse Box
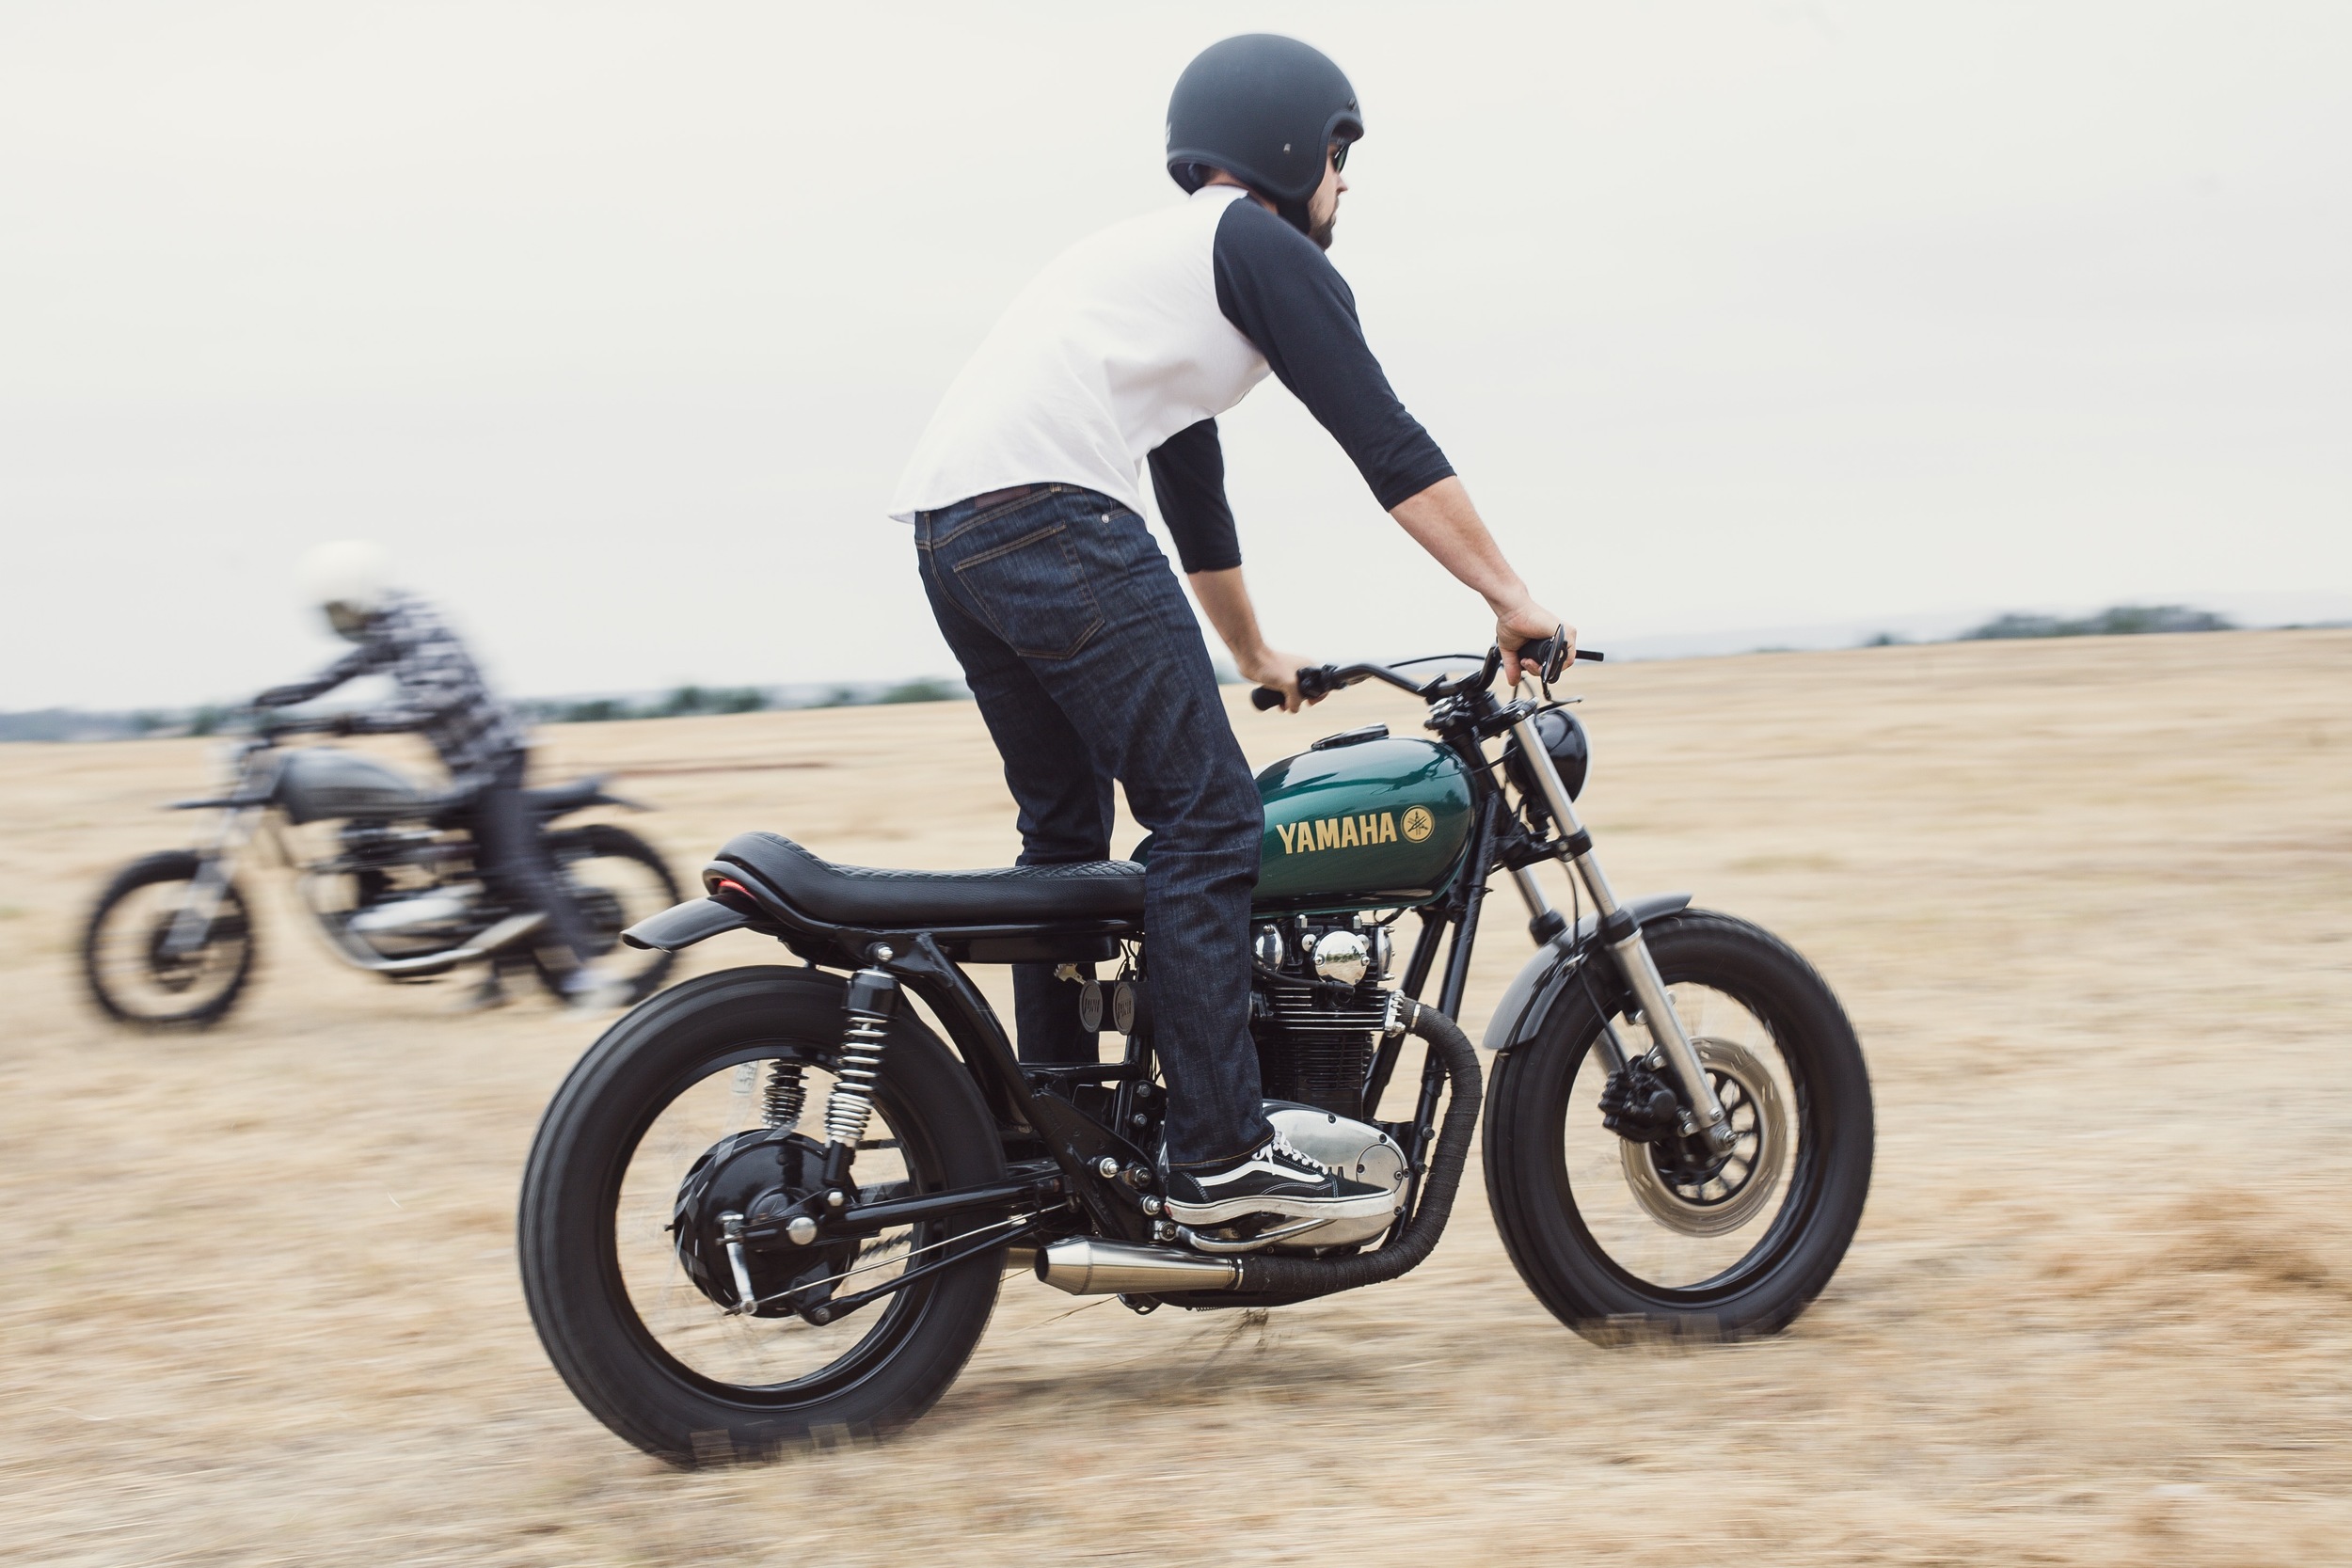
Since this photo was taking we upgraded the rear suspension. We moved the top shock mount forward to give more travel and better geometry. We then swapped to some Progressive 70/100 Rear Springs. It really changed the way it handles off-road.